
Winter nails are more than just a seasonal trend—they celebrate the cozy, magical, and festive vibes that come with the colder months. From icy blues and shimmering silvers to deep burgundies and glittering golds, winter nails are all about embracing the beauty of the season.
What Are Winter Nails?
Winter nails are nail art designs inspired by the beauty of the colder months. They incorporate elements like icy blues, frosty whites, sparkling glitter, and deep jewel tones. The designs can range from minimalist, with subtle icy touches, to elaborate, with intricate snowflakes, reindeer, or holiday patterns. Whatever your style, winter nails allow you to create something that not only complements your winter wardrobe but also adds a bit of extra sparkle to your day.
Why Are Winter Nails So Trendy?
Winter nails are trendy because they perfectly capture the beauty and vibe of the season. The cold weather brings a chance to experiment with rich colors, sparkling glitters, and frosty designs that reflect winter landscapes. Whether it’s soft snowflakes, cozy sweater patterns, or shimmering metallics, these designs add a festive touch to any look. Winter nails also allow for creativity with textures and details, making them a fun way to express seasonal style while staying cozy and chic.
15 Winter Nail Designs
Snowfall with a Twist
While traditional snowflakes are stunning, take it a step further by painting a snowy scene with a cozy cabin or a wintry forest silhouette at the base of your nails. Add tiny rhinestones for a sparkling snow effect.
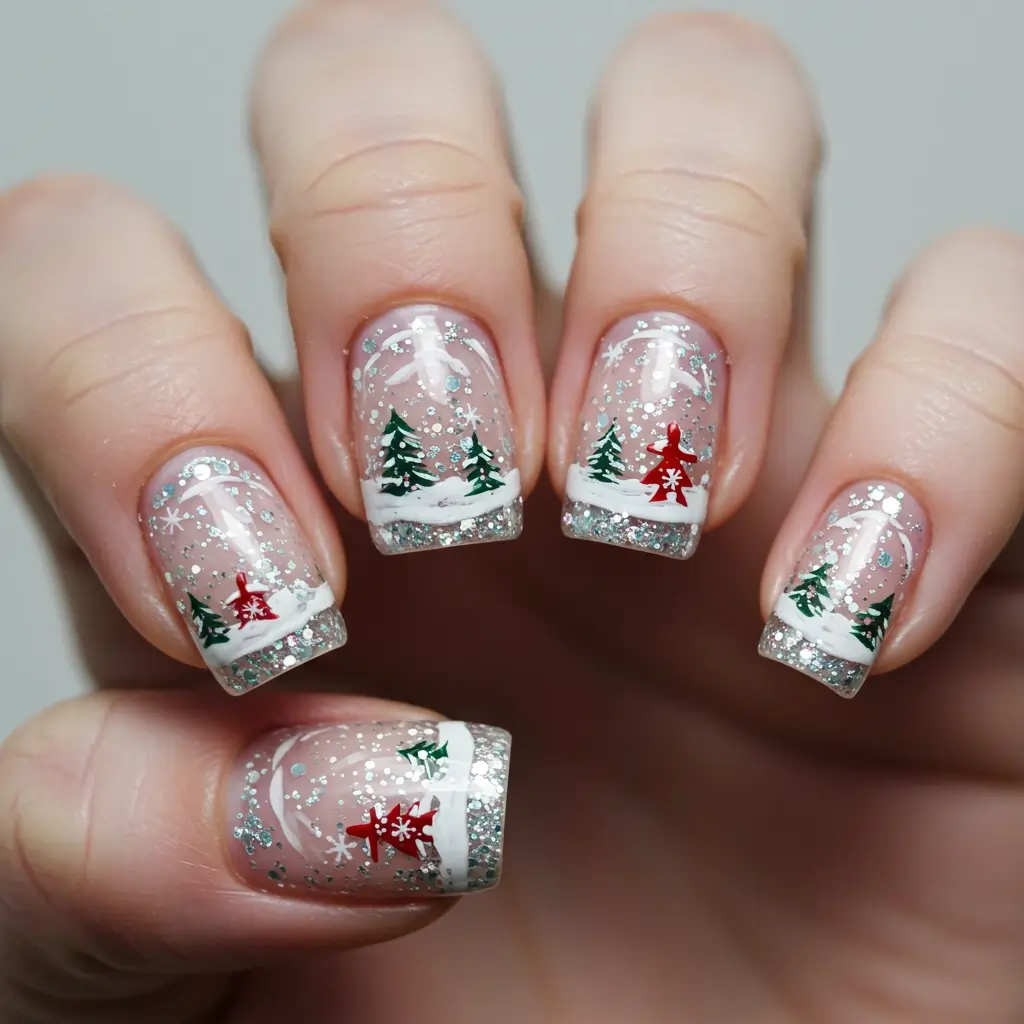
Pro tips: Use a fine-tipped brush to paint the trees or cabin. Add a few strategically placed rhinestones for added shimmer and dimension.
Frozen Aurora Borealis
Imagine the Northern Lights on your nails. Create a gradient of icy blues, greens, and purples that shimmer like the Aurora Borealis, with a touch of glitter to add sparkle.

Pro tips: Use a sponge to create the gradient, ensuring the colors blend seamlessly. A holographic glitter top coat will add an ethereal touch to mimic the Aurora’s glow.
Polar Bear Chic
A cute and quirky design featuring a stylized polar bear on one nail, with icebergs and snowflakes on the others. The polar bear should have soft white fur, black eyes, and a tiny scarf.
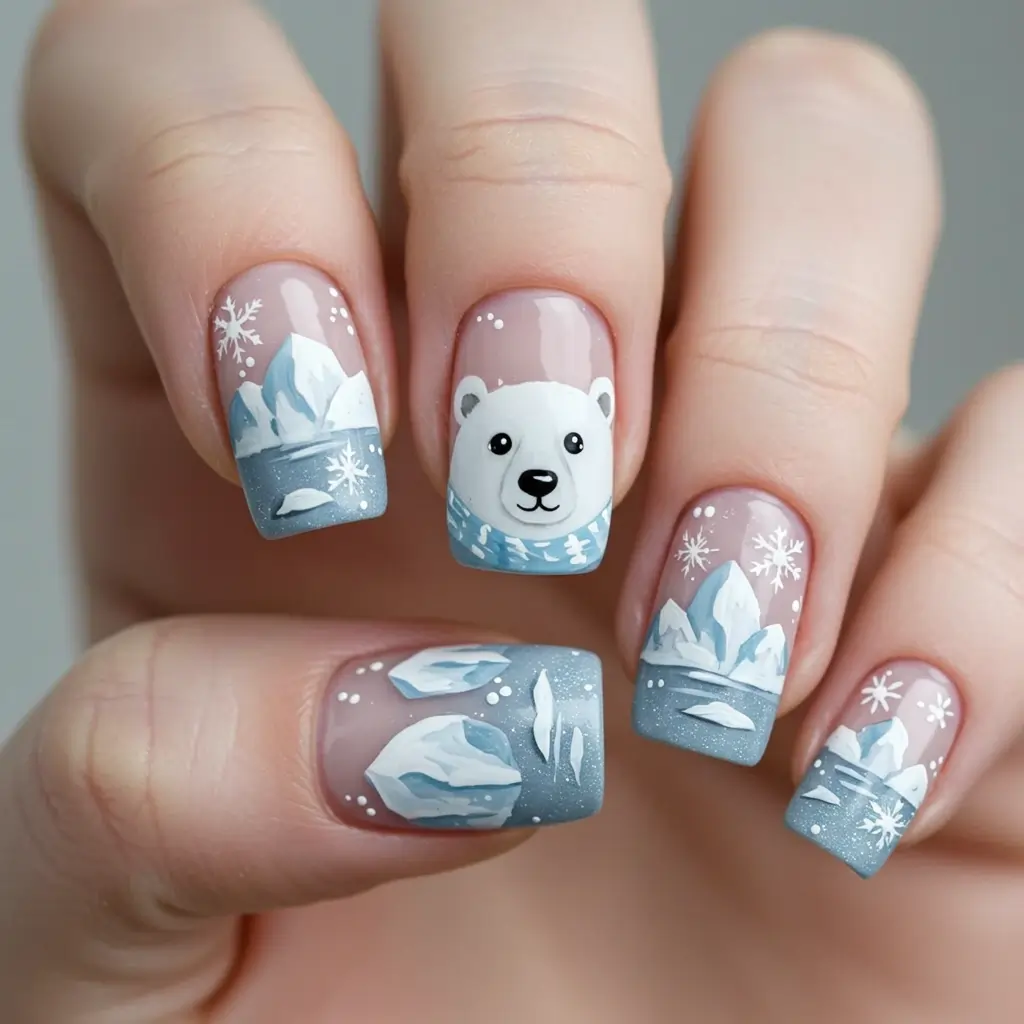
Pro tips: For a more realistic polar bear, use a white base and thin brushes to create the animal’s features. For an extra fun touch, add a tiny silver scarf to the bear.
Glittering Snow Globe Nails
Create a miniature snow globe design on your nails, with a winter scene encased in glitter. Use a clear nail polish base with floating silver or white glitter for a delicate snowstorm effect.
Pro tips: Apply a layer of clear gel polish, and while it’s still tacky, sprinkle glitter for a snow-globe effect. Make sure the glitter moves freely to capture the magic of a snowstorm.
Frosted Holiday Sweater Nails
Add texture to your nails by creating a 3D knitted sweater design. Use a textured, matte polish in neutral tones like cream, gray, or beige, and paint intricate knitted patterns on top with a white gel pen.
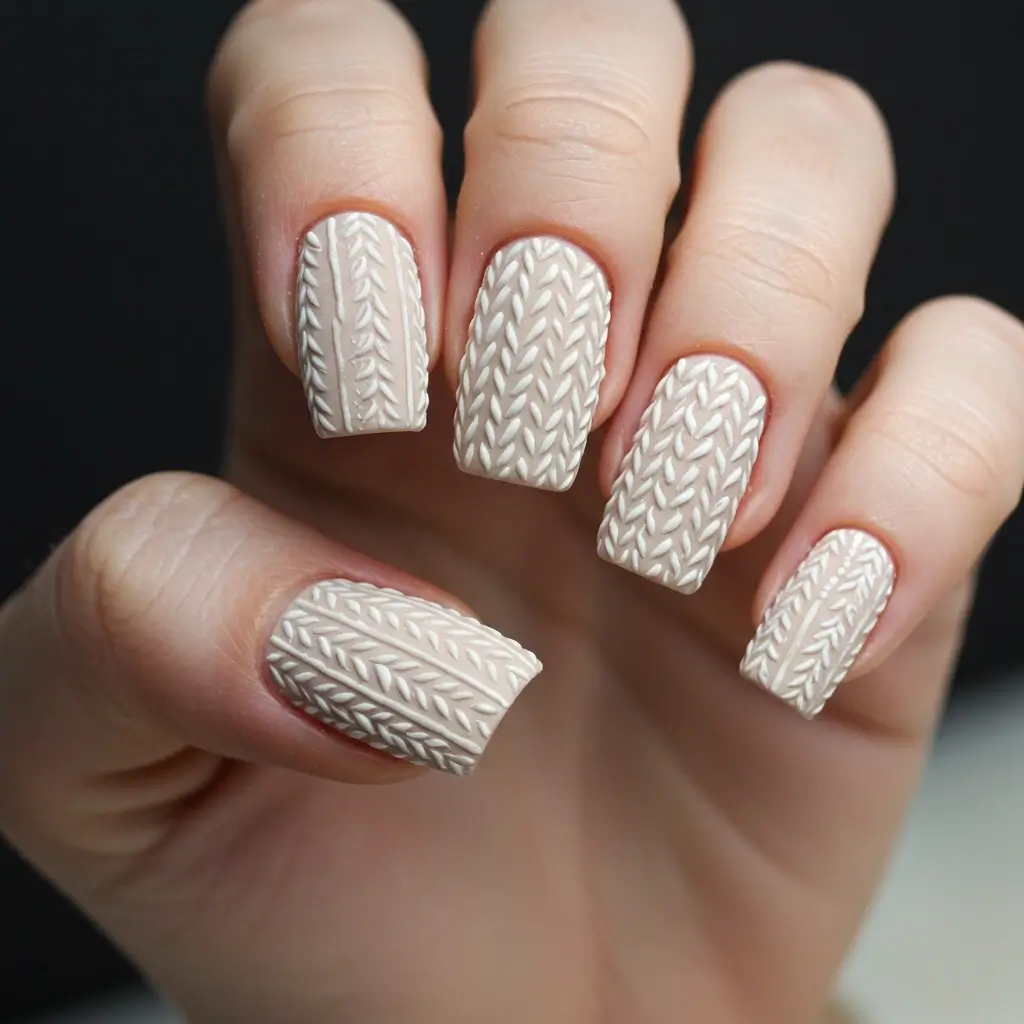
Pro tips: Use a nail art pen for perfect 3D designs, and apply a matte topcoat to ensure that the sweater texture comes out clearly.
Frozen Roses with Silver Frost
A sophisticated winter design where soft rose petals in icy pinks and whites are combined with frosty silver accents. The rose petals should appear like they’re covered in a delicate layer of frost.
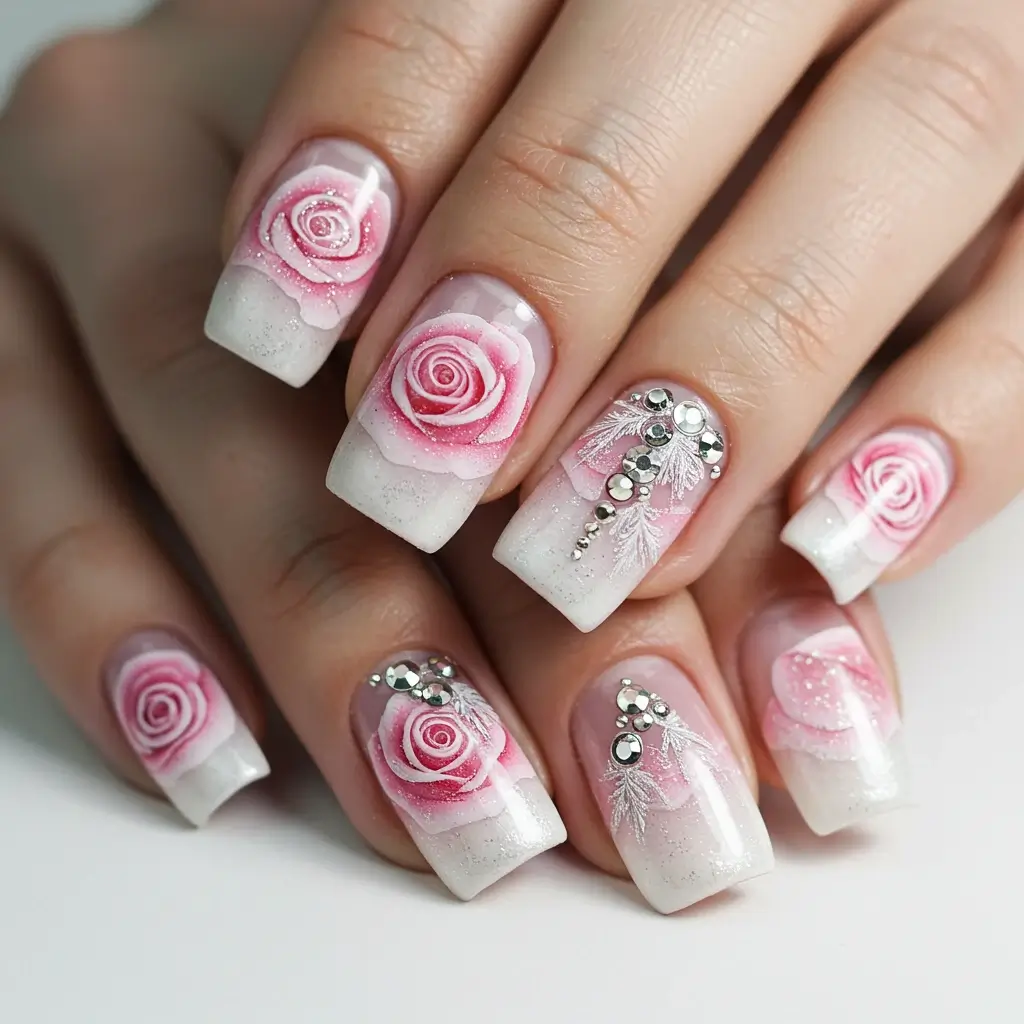
Pro tips: Use a fine brush to paint rose petals, layering soft whites and pinks for a realistic flower effect. Finish with a thin layer of silver glitter to mimic frost on the petals.
Celestial Winter Skies
A stunning combination of deep midnight blue and sparkling silver, with delicate constellations and stars scattered across your nails. The design should resemble a winter night sky.
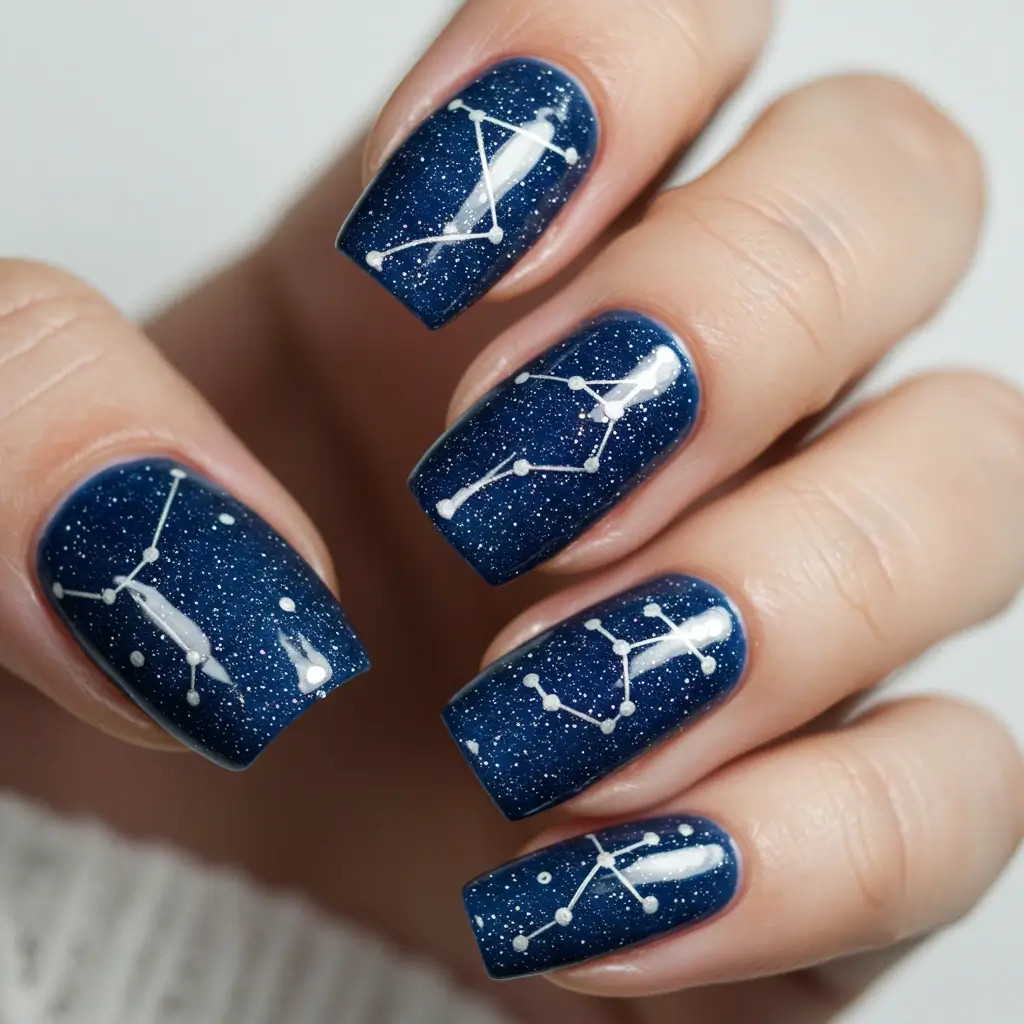
Pro tips: Use a sponge to apply the dark blue base and create a gradient. Use a white or silver gel pen to draw stars and constellations.
Tinsel & Twine
A festive and unique design inspired by holiday gift wrapping. Use metallic gold or silver lines to mimic tinsel or twine wrapped around a present, adding rhinestones as “decorations.”
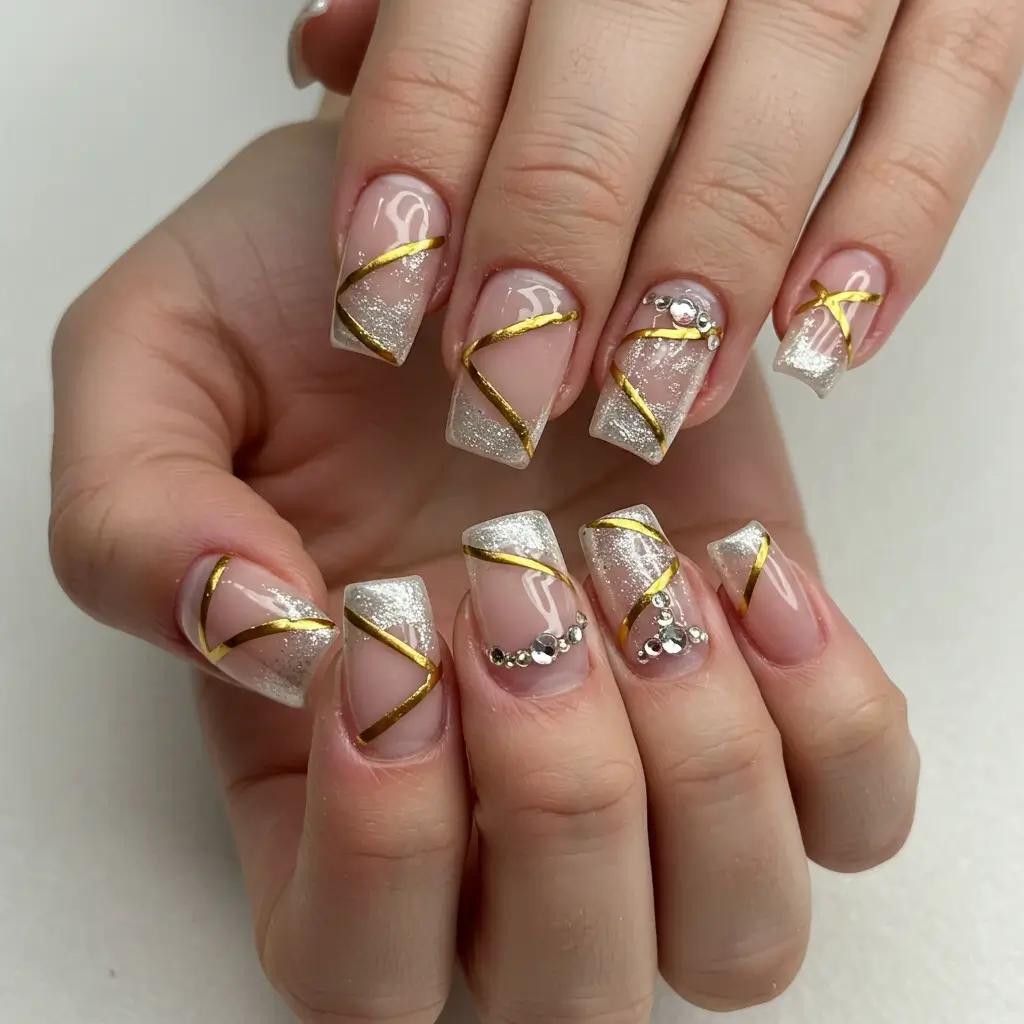
Pro tips: Use striping tape to create clean, straight lines and apply rhinestones or pearls at the intersections to mimic gift decorations.
Frosty Crystal Nails
Embrace the beauty of icy crystals by creating geometric patterns on your nails using silver and white. Each nail can feature a different size and shape of crystal, inspired by the natural formations found in snowflakes.
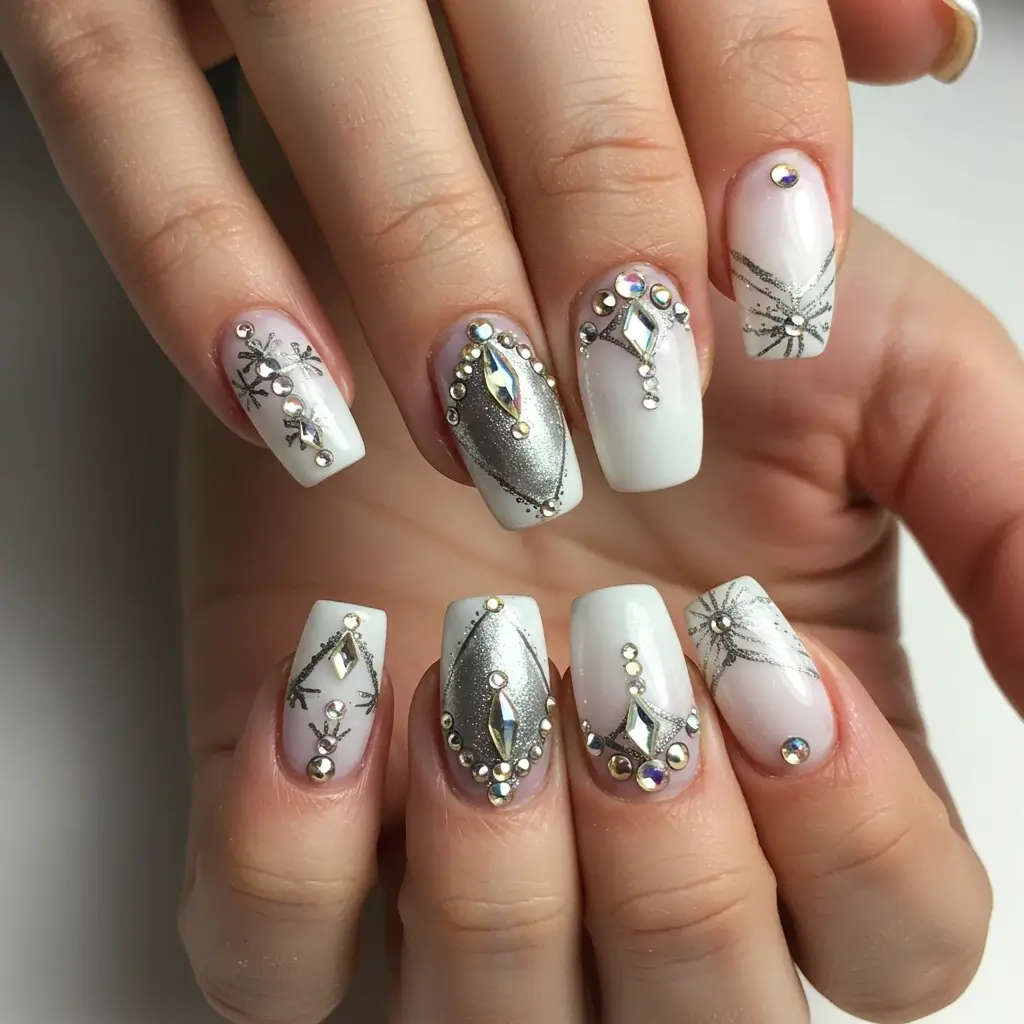
Pro tips: Use a dotting tool to create perfect geometric shapes and a holographic glitter top coat to add extra sparkle.
Glistening Emerald & Ruby
For a luxurious look, opt for deep emerald greens and ruby reds with gold or silver accents. These jewel tones paired with metallic designs scream winter opulence.
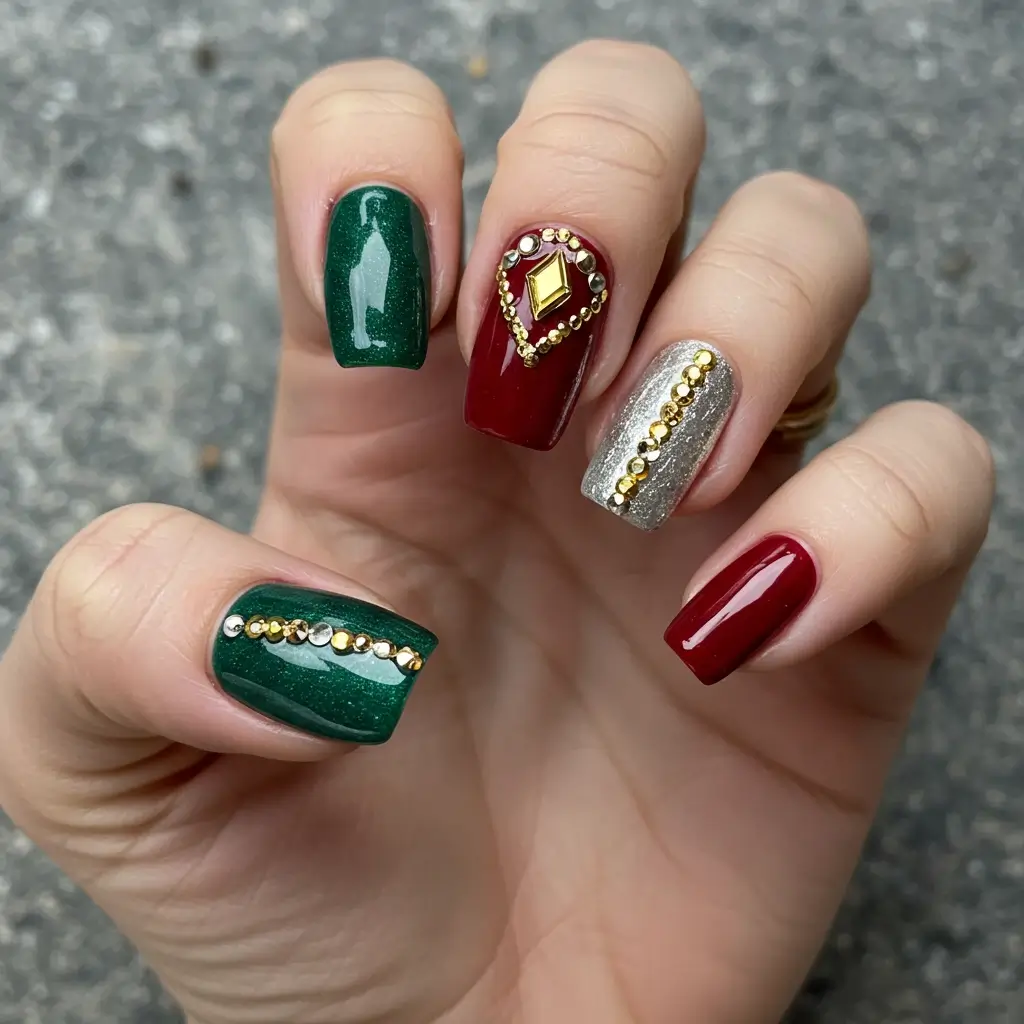
Pro tips: Keep the design simple with an elegant gold accent nail or intricate metallic details on the tips of the nails. Top off with a shiny gel finish.
Crisp Air Frost
Mimic the crisp, frosty air with a design of frosted white leaves scattered across a cool blue or light purple background. Add tiny drops of blue or silver to the tips for an ice-cold finish.
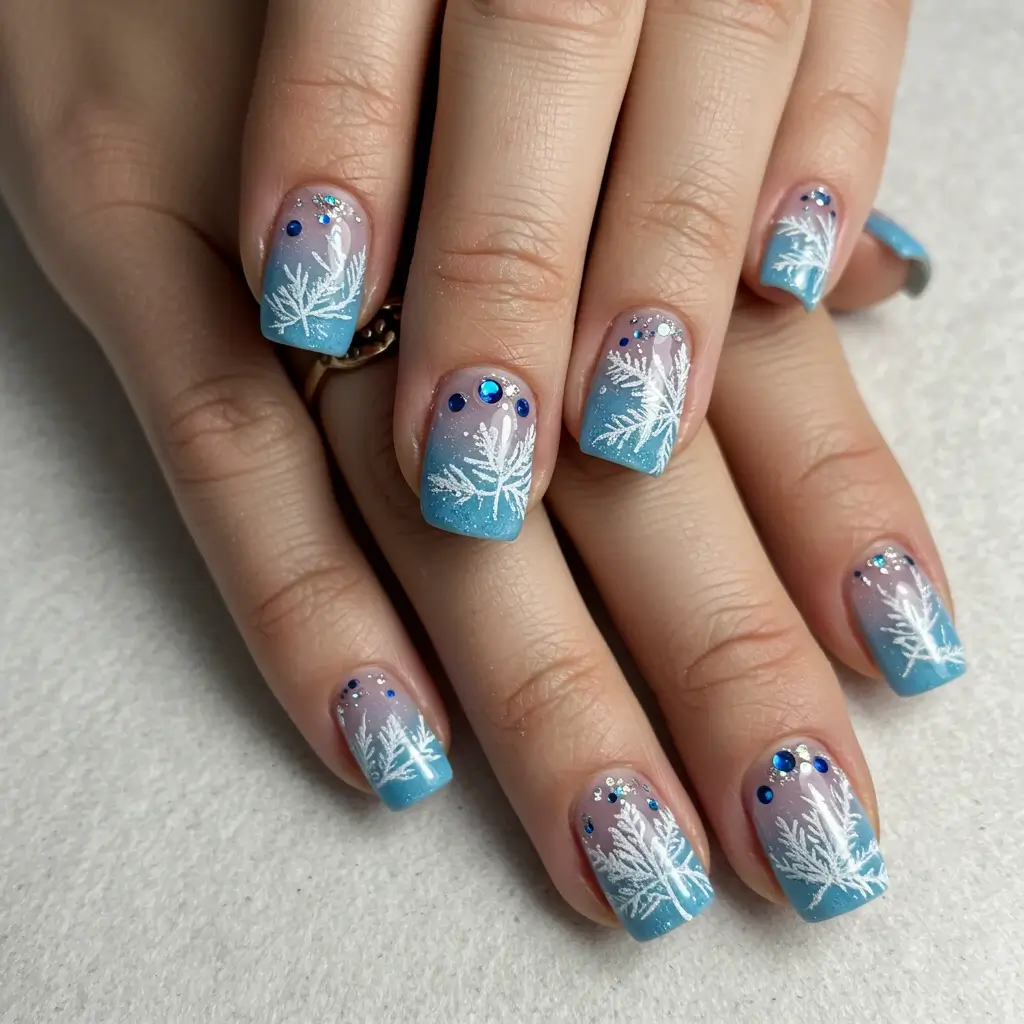
Pro tips: Use a fan brush to create the frosty leaves for a textured and layered effect, and apply small droplets of silver at the edges for a realistic frozen look.
Winter Wonderland Marble
A marble design in shades of white, pale blue, and icy silver, resembling the marble ice patterns seen in frozen lakes. The subtle swirls make it sophisticated yet eye-catching.
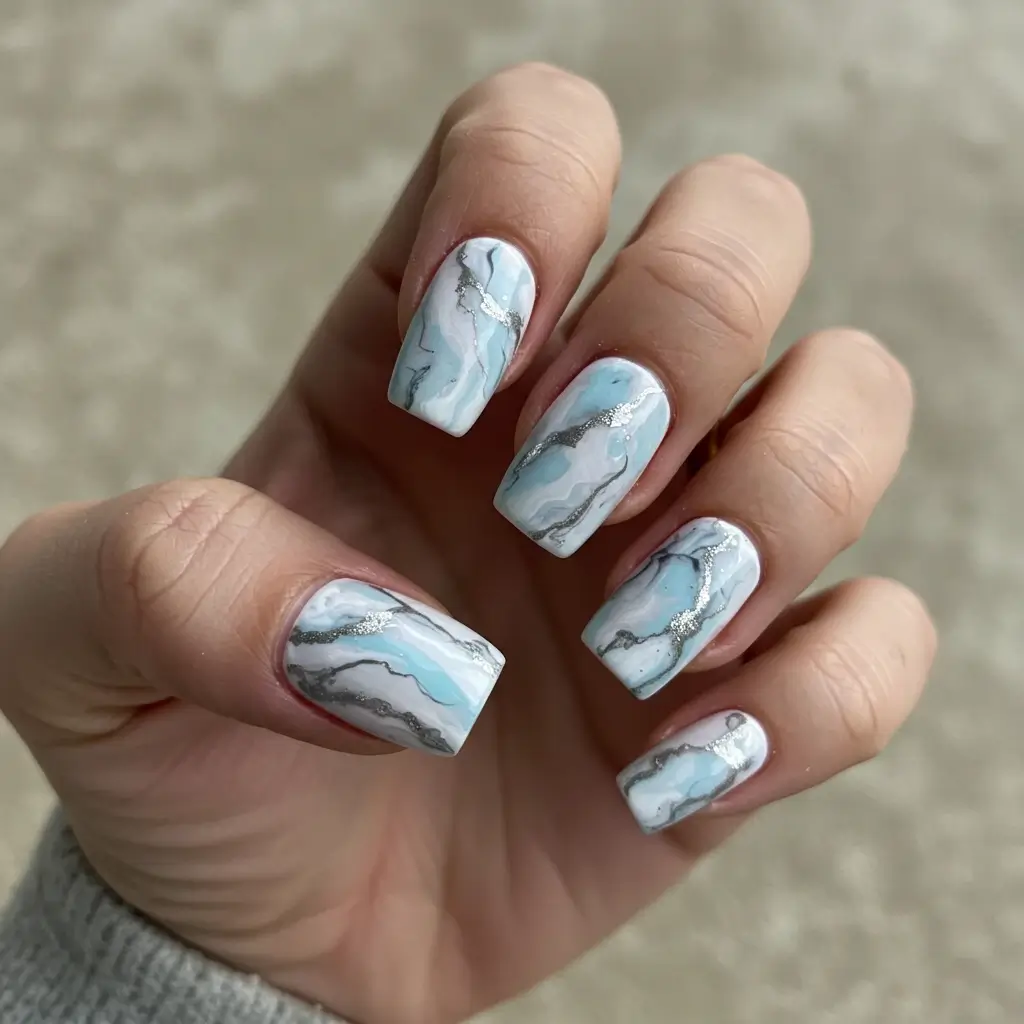
Pro tips: Use the water marble technique to get a smooth, swirl-like effect. Make sure to use cold water for best results, which will help the polish spread evenly.
Whimsical Snowflakes & Candy Cane Stripes
Combine two festive designs—red and white candy cane stripes with delicate, hand-painted snowflakes on accent nails. This creates a whimsical holiday vibe without feeling overly done.
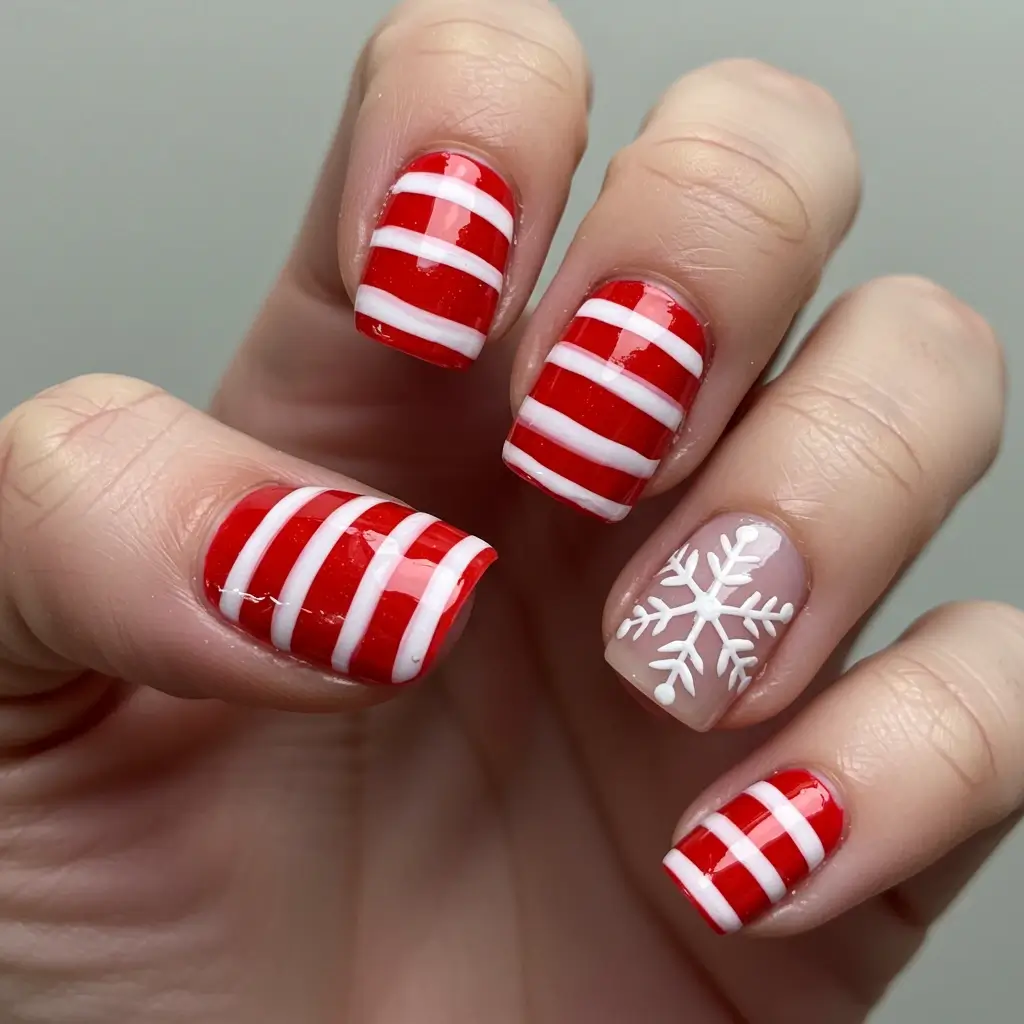
Pro tips: Use striping tape for neat candy cane stripes, and a thin brush for delicate snowflake designs. Add a touch of sparkle with silver glitter.
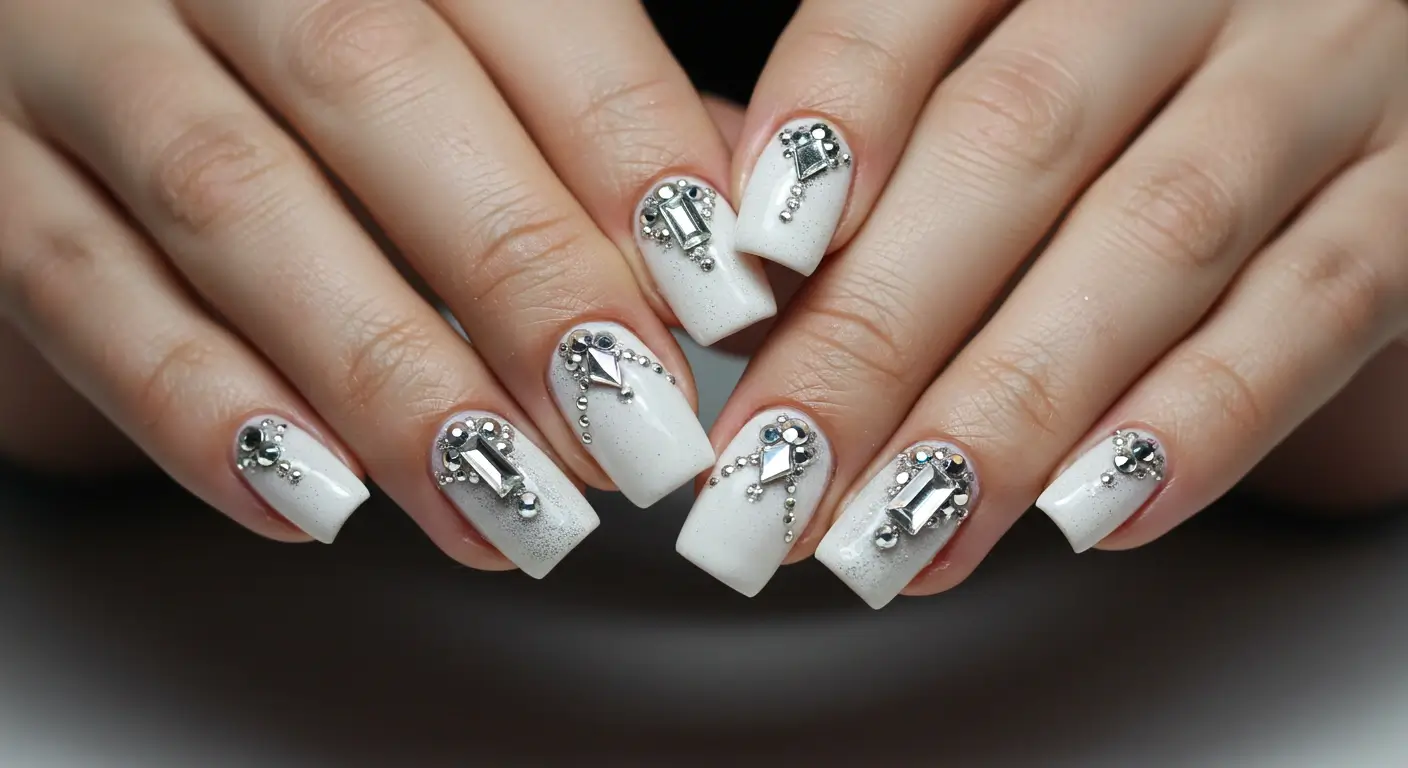
Glistening Ice Crystals
Your nails will look like a frozen masterpiece with a combination of 3D ice crystals, using transparent gel and holographic glitter. It’s like wearing the cold beauty of winter on your fingertips.
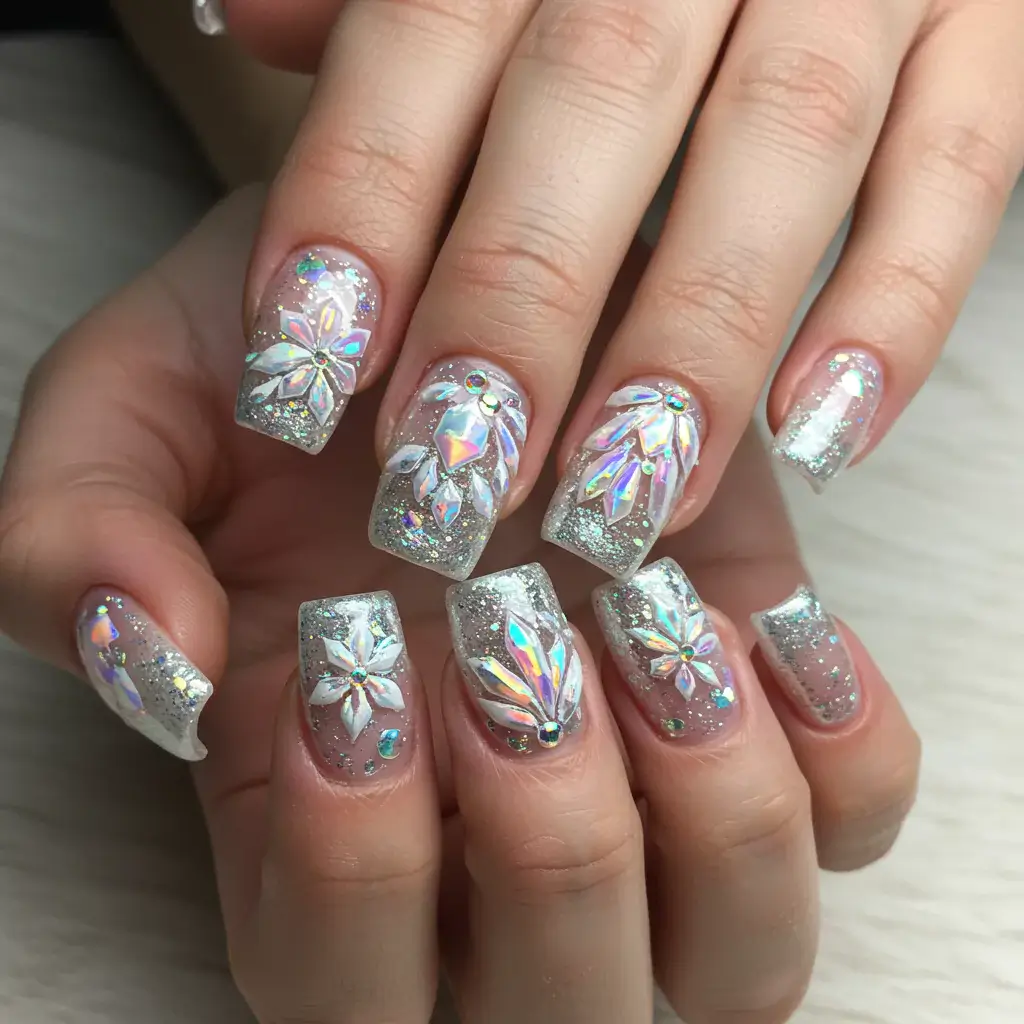
Pro tips: Apply a base layer of clear gel, then carefully apply the ice crystals with tweezers. Top with a coat of shiny top coat to seal the design in place.
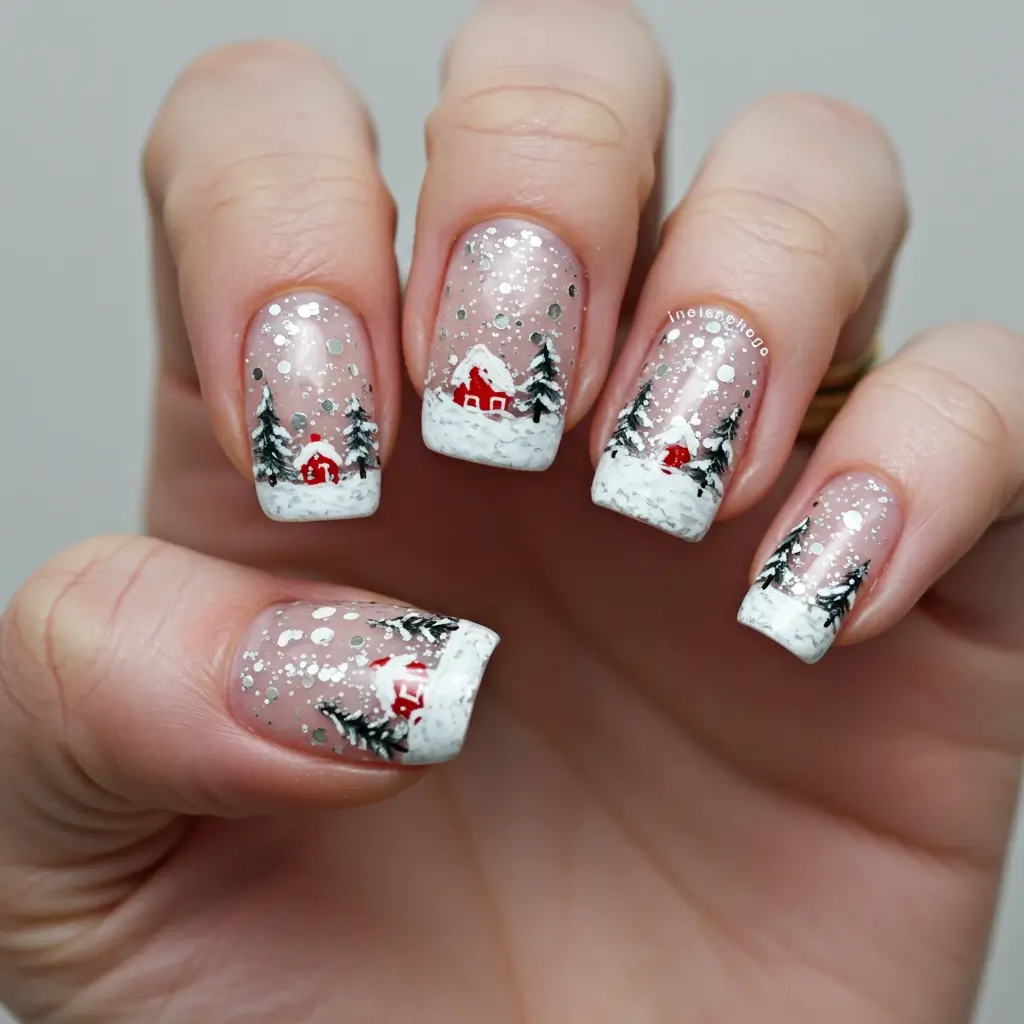
Magical Winter Forest
Transform your nails into a serene winter forest, with snow-covered trees, tiny animals, and subtle sparkles representing a forest at twilight. Use a deep green or blue base with white and silver accents.
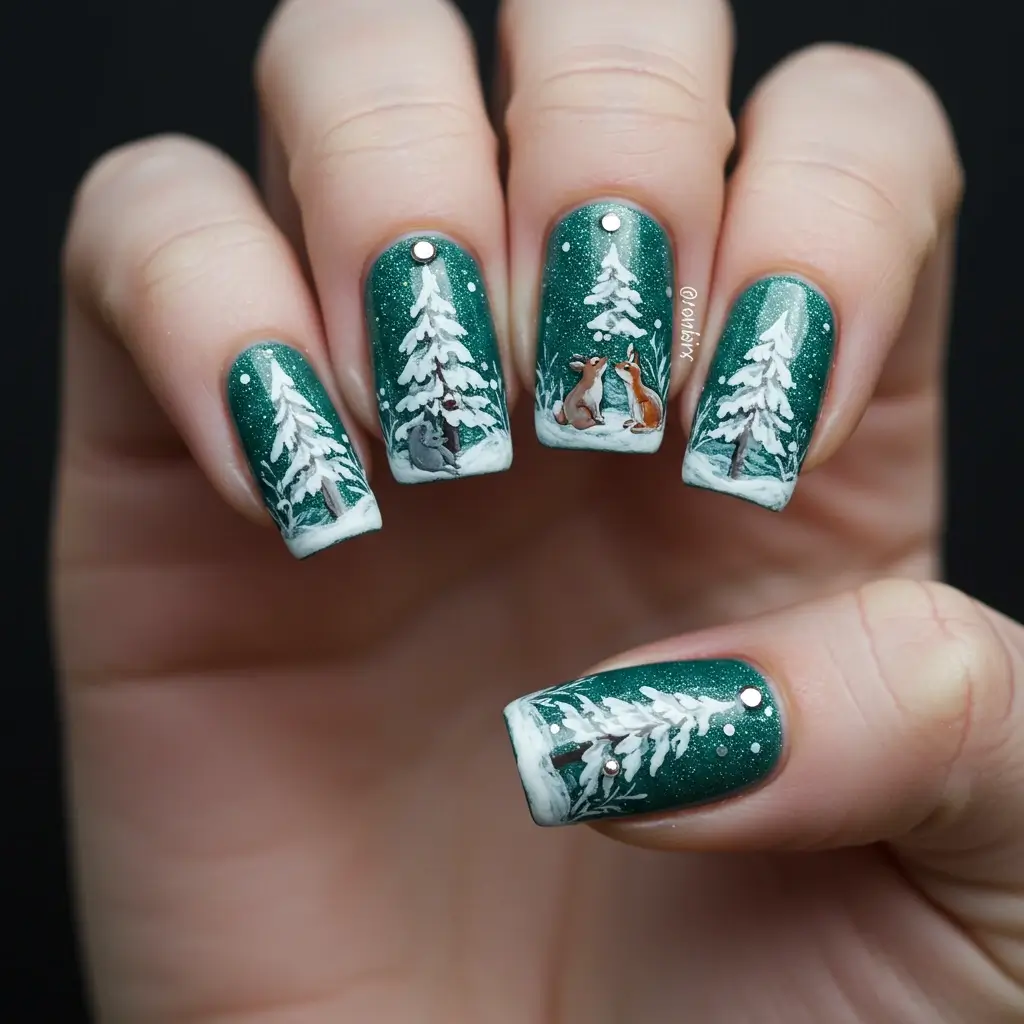
Pro tips: Paint the forest scene with a fine-tipped brush, layering in the trees, animals, and stars. Use a small dotting tool to create tiny snowflakes for added dimension.
Recommended Products
OPI Nail Lacquer in “You Don’t Know Jacques!” (perfect for cozy, neutral tones).
Essie Gel Couture in “Fairy Tailor” (a sheer, icy blue).
Sally Hansen Insta-Dri in “Go for Gold” (great for glitter accents).
Seche Vite Top Coat (for a high-shine finish).
Born Pretty Nail Art Brushes (for intricate designs).
Holo Taco Magnetic Polish (for aurora effects).
Pros and Cons of Winter Nails
| Pros | Cons |
| Perfect for seasonal celebrations and holidays. | Intricate designs may require Pro help. |
| Wide variety of designs to suit every style. | Glitter and 3D accents can be tricky to remove. |
| Can be done with regular polish, gel, or acrylic. | Dark colors may show chips more easily. |