The half-moon manicure is a classic nail art style that has stood the test of time. Known for its elegant crescent-shaped design, this vintage-inspired look has made a strong comeback in modern nail art. Whether you’re a nail art enthusiast or a beginner, this guide will walk you through everything you need to know about the half-moon manicure, from its origins to step-by-step tutorials and trendy variations.
What is a Half Moon Manicure?
A half-moon manicure features a crescent-shaped design at the base of the nail, typically left bare or painted in a contrasting color. The rest of the nail is polished in a complementary shade, creating a sophisticated two-tone effect.
Historical Background
The half-moon manicure gained popularity in the 1920s and 1930s during the Art Deco era. It was a symbol of elegance and sophistication, often seen on Hollywood starlets and fashionable women of the time. Today, it has resurfaced as a trendy yet timeless nail art style.
21 Designs of Half-Moon Manicure
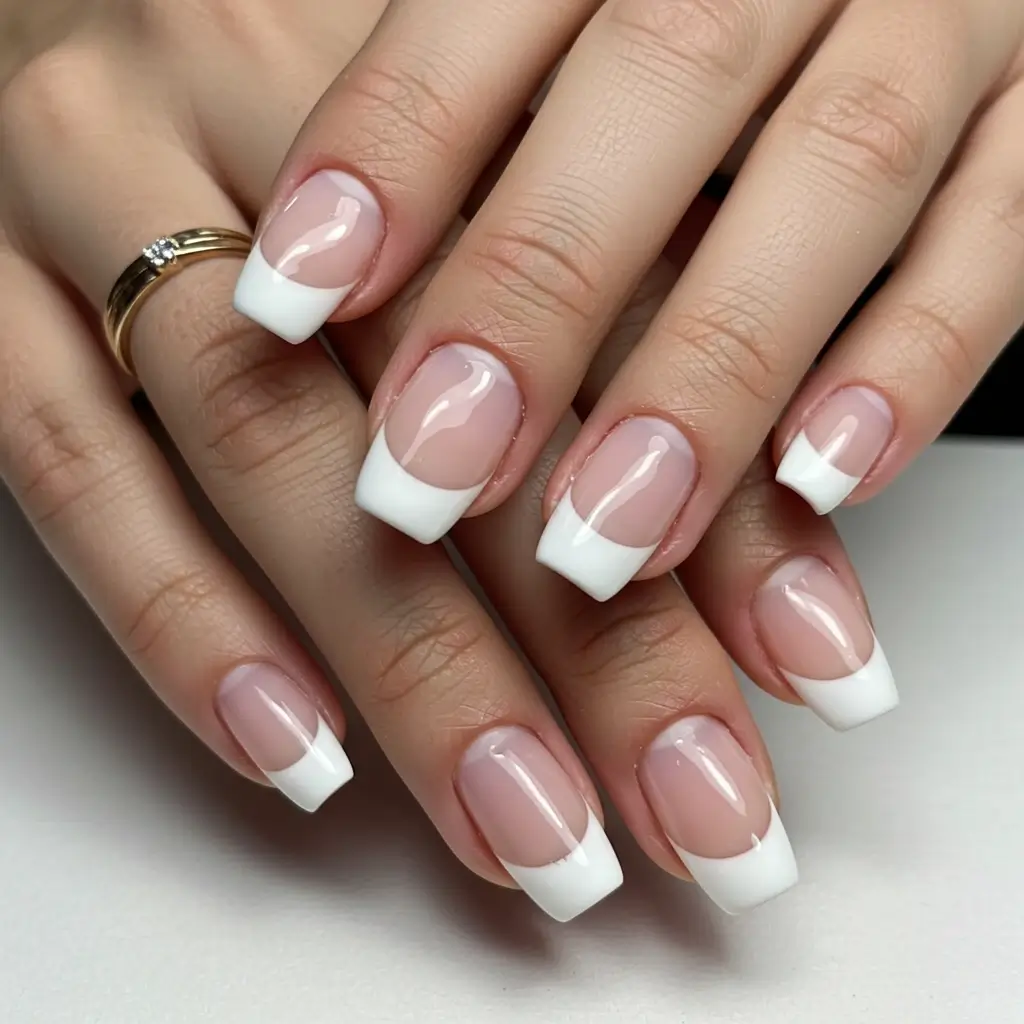
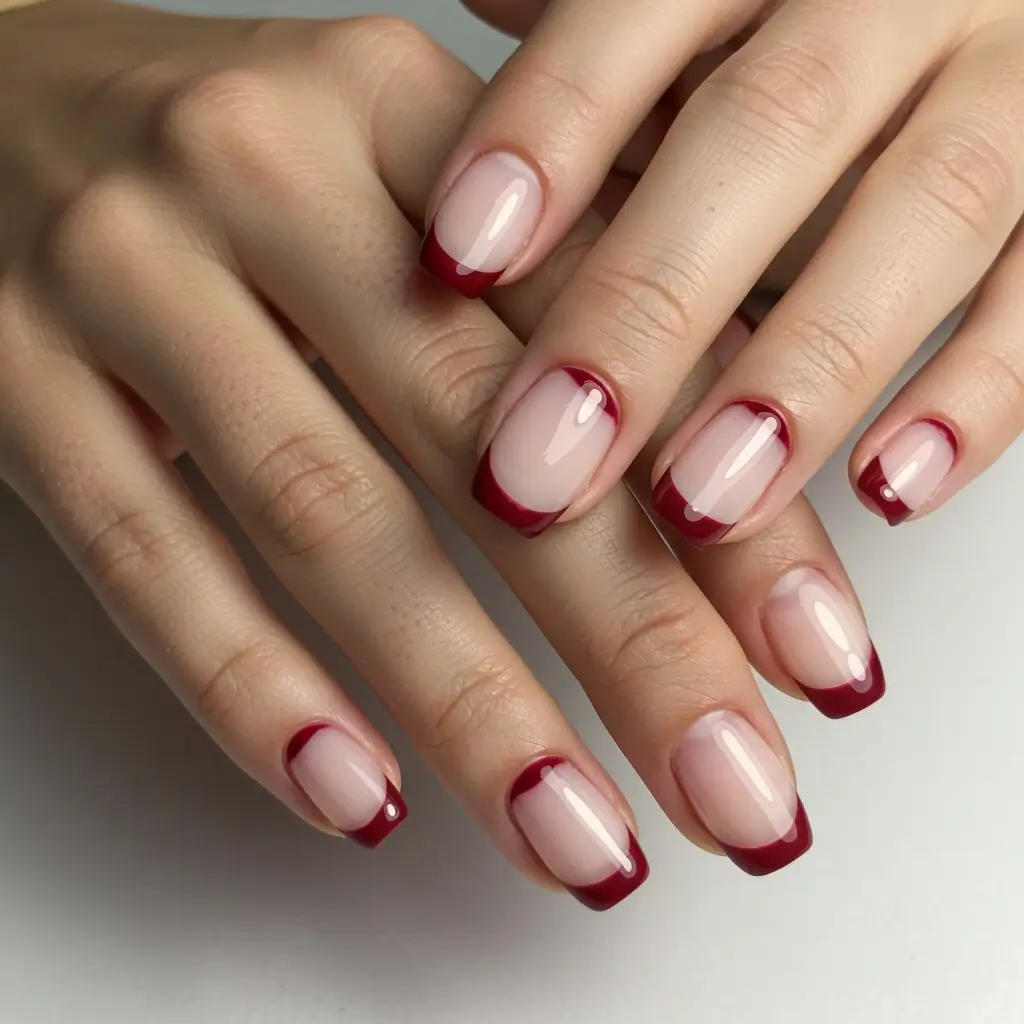
Classic Half-Moon Manicure
The Classic Half-Moon Manicure remains one of the most enduring nail styles, characterized by a rounded, crescent-shaped area at the base of the nail that can either be left bare or painted in a contrasting hue. This design enjoyed significant popularity in the 1920s and 1930s and was frequently showcased by Hollywood celebrities. The most conventional version features a nude or light pink base paired with a white or red half-moon, resulting in an elegant and refined appearance.
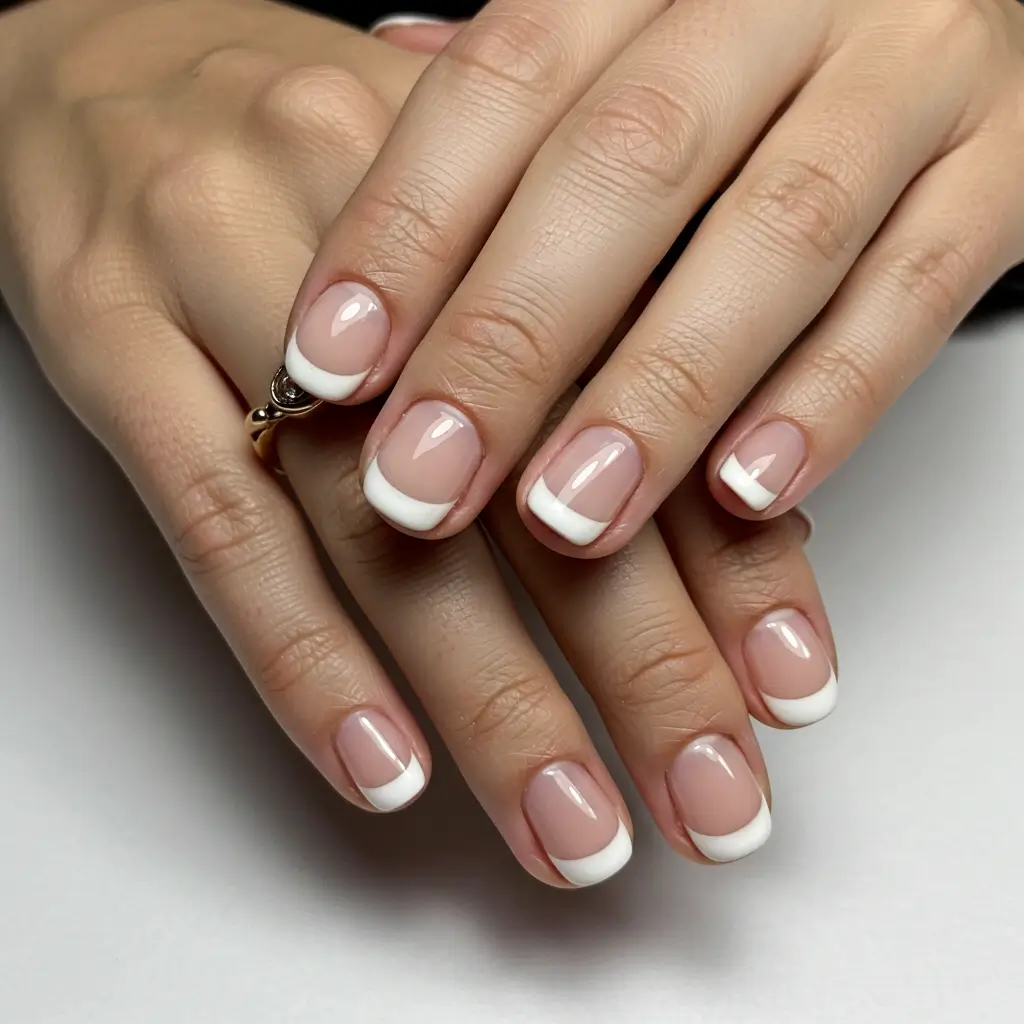
Pro Tip: For achieving a neat and balanced half-moon, utilize French manicure stickers or hole reinforcement stickers as templates. First, apply the base color and allow it to dry fully, then place the stickers and apply the second color for a perfect finish.
Reverse French Half-Moon Manicure
This style is a contemporary version of the traditional French manicure; instead of the usual white tips, the half-moon at the nail’s base features white, silver, or another contrasting hue, while the remaining nail is coated in a neutral tone. This technique makes the nails appear longer and adds a sophisticated, fashion-forward vibe.
Pro Tip: To achieve a flawlessly clean look, utilize a fine detail brush or striping tape to ensure a sharp contrast between the two shades. A glossy topcoat not only enhances the design but also protects against chipping.
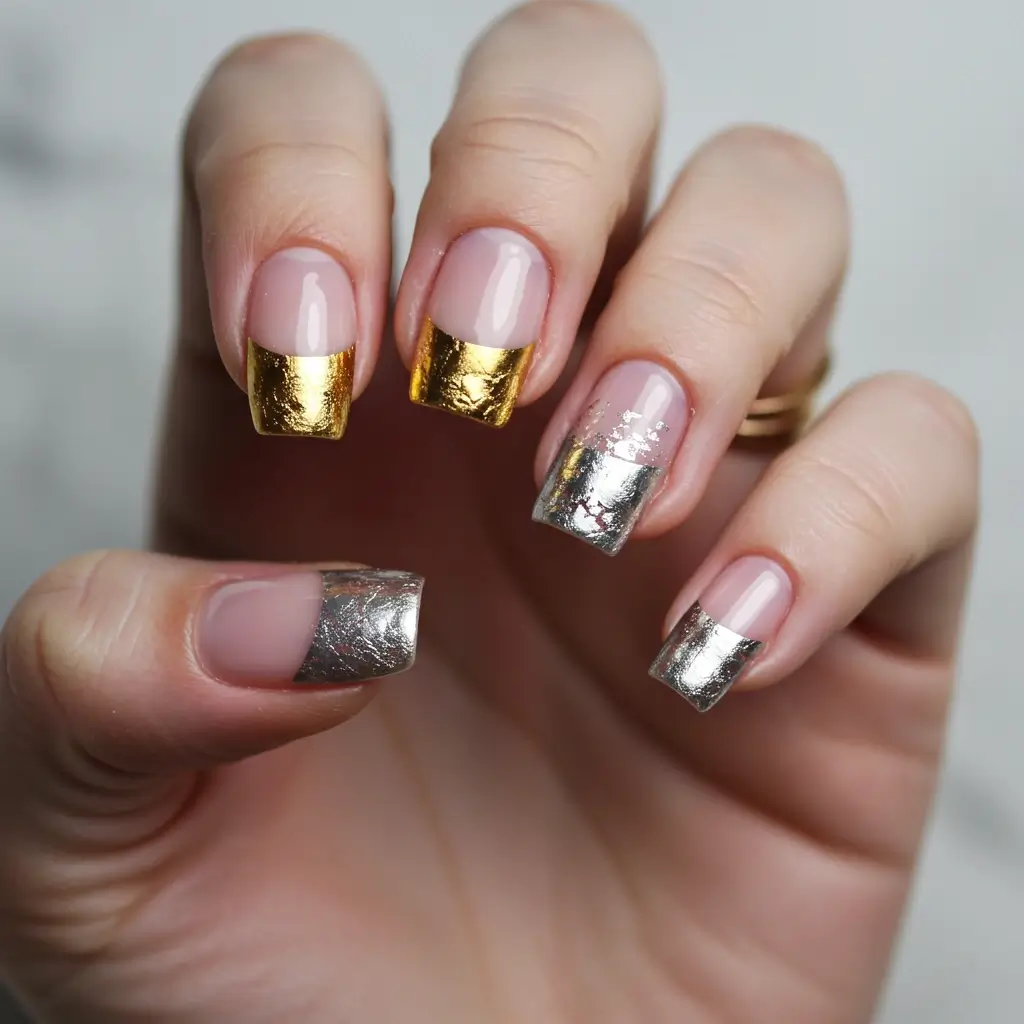
Metallic Half-Moon Nails
This nail design features opulent metallic tones such as gold, silver, or rose gold for a stunning appearance. The metallic varnish is applied to the half-moon area, producing a brilliant contrast with either matte or glossy polish on the remaining part of the nail. It’s ideal for upscale events or festive nail styles.

Pro Tip: To attain an authentically reflective, mirror-like metallic look, utilize chrome powders or foil transfer sheets over a tacky base coat.
Negative Space Half-Moon Manicure
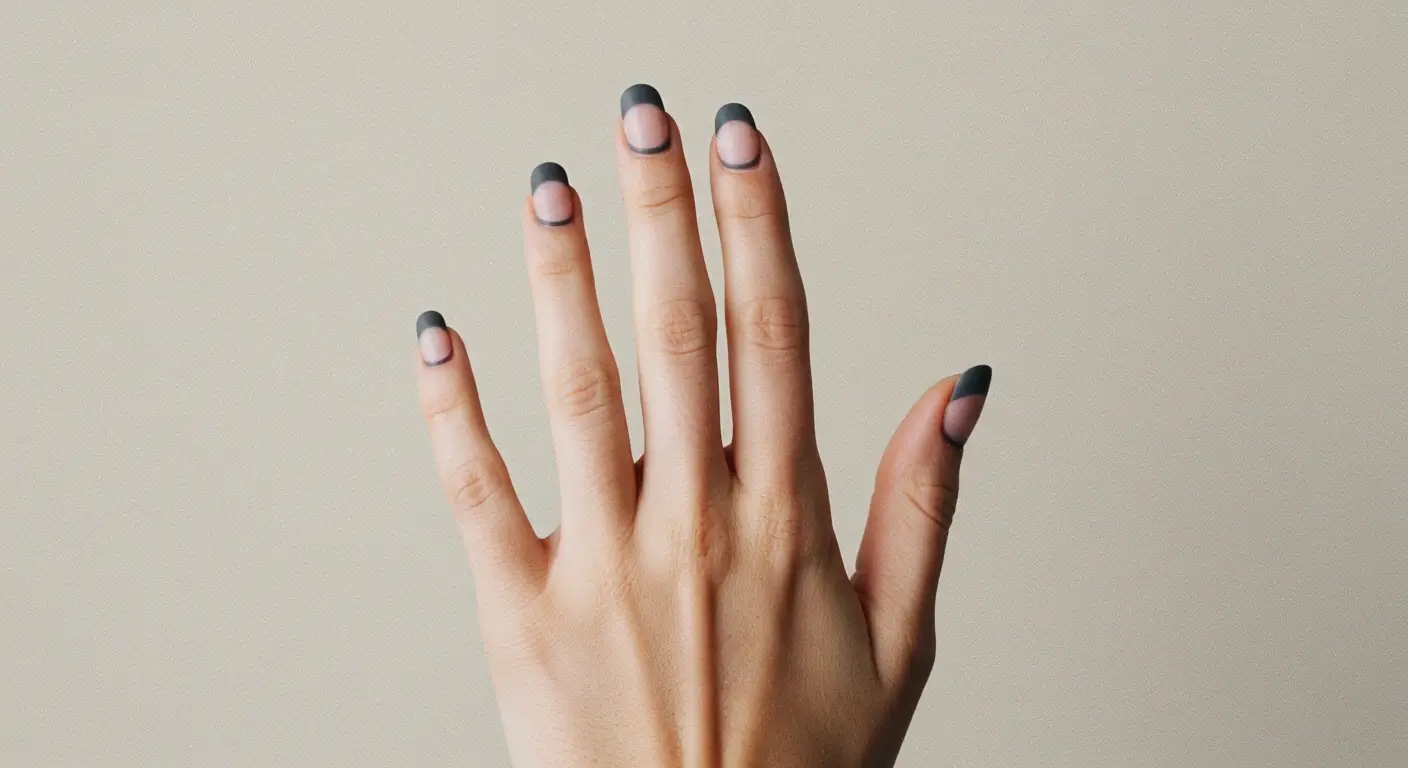
This manicure features a sleek and contemporary style, leaving the half-moon section unpolished to highlight the natural nail, while the remaining part is finished in striking colors such as black, red, or navy blue. This results in an elegant contrast and is effective with both glossy and matte finishes.
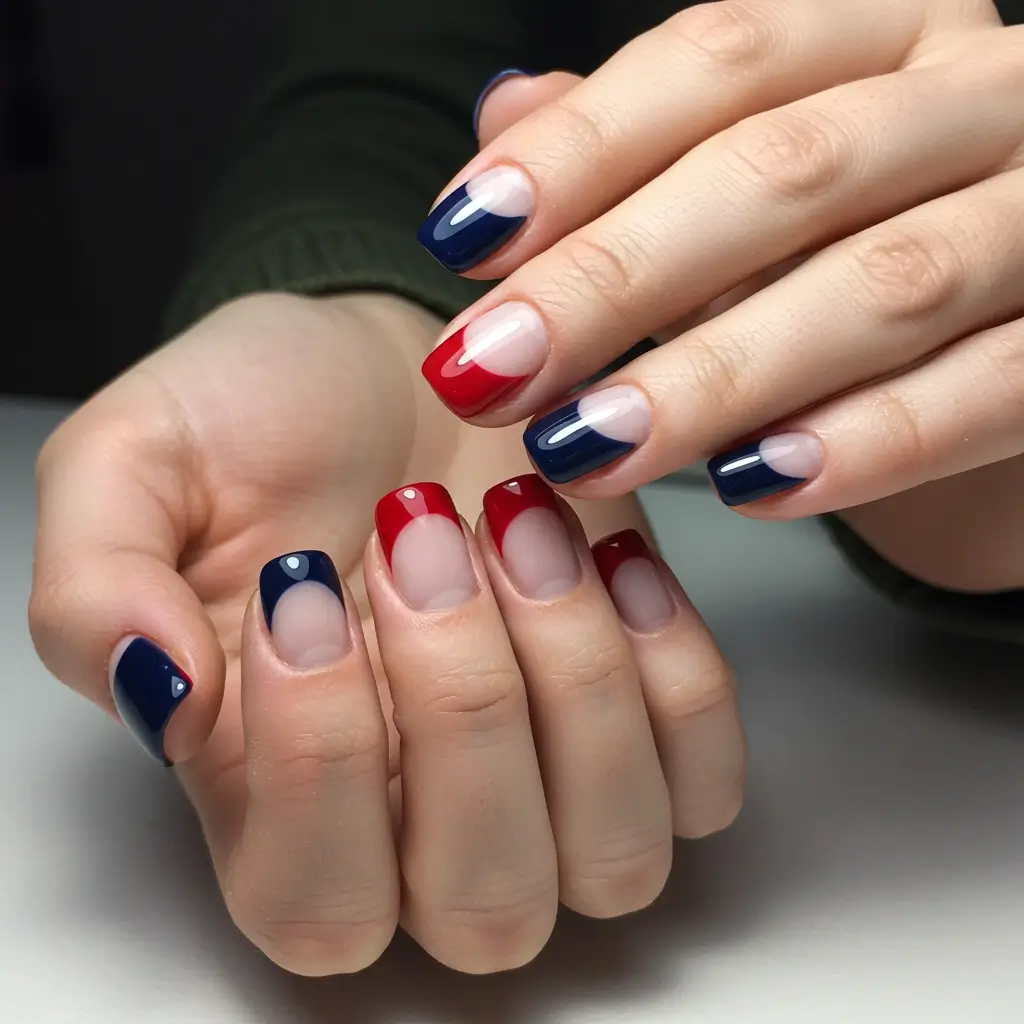
Pro Tip: Be sure to use a sheer or nude base coat to smooth out the nail surface prior to applying the top color. This ensures that the natural half-moon appears tidy and refined.
Ombre Half-Moon Nails
This design combines multiple colors in a smooth ombre effect, transitioning from the half-moon to the outer edge or the other way around. The gradient gives the nails a delicate and refined look that is perfect for weddings and formal occasions.
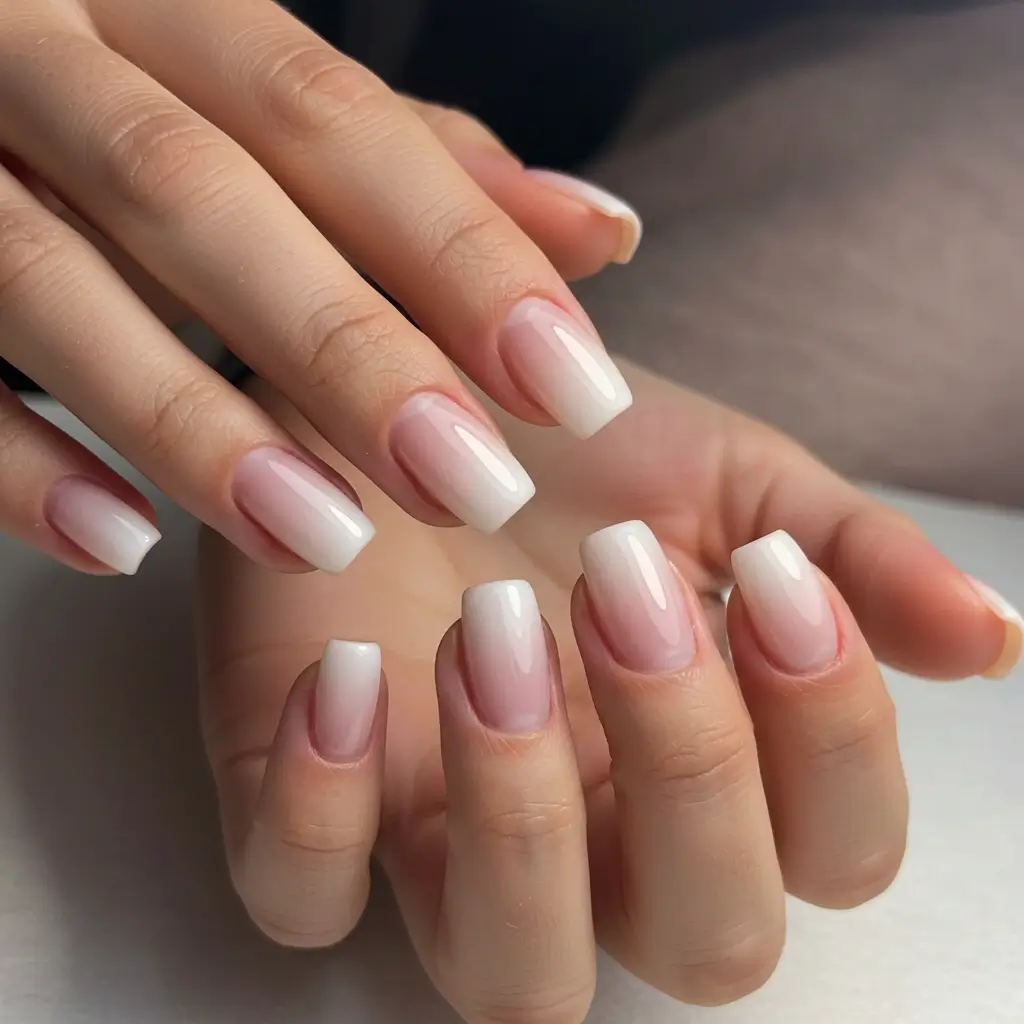
Pro Tip: Utilize a makeup sponge to apply the polish in layers, allowing for a smooth blend of colors. Complete with a shiny top coat to ensure the gradient appears seamless.
Glitter Half-Moon Manicure
This dazzling manicure accentuates the half-moon section with either fine or chunky glitter, enhancing the glam factor of any nail design. The remainder of the nail can be styled in a neutral, pastel, or vibrant color to establish a striking contrast.
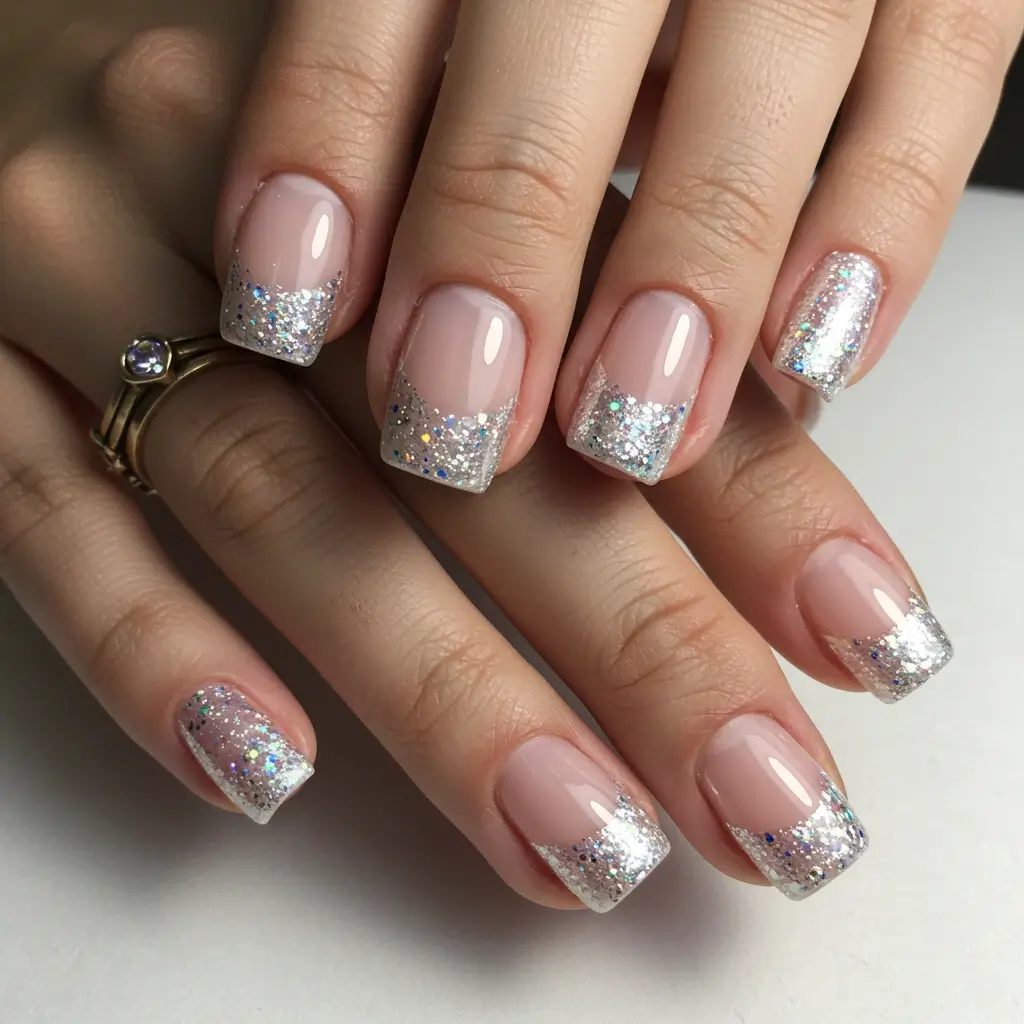
Pro Tip: To avoid glitter falling off, press the glitter into a tacky base coat instead of applying it with a brush. Finish with two coats of top coat for added shine and durability.
Matte Half-Moon Nails
This version of the half-moon manicure features a matte finish on the primary section of the nail alongside a glossy or metallic half-moon. The contrasting textures provide a contemporary and sophisticated appearance.
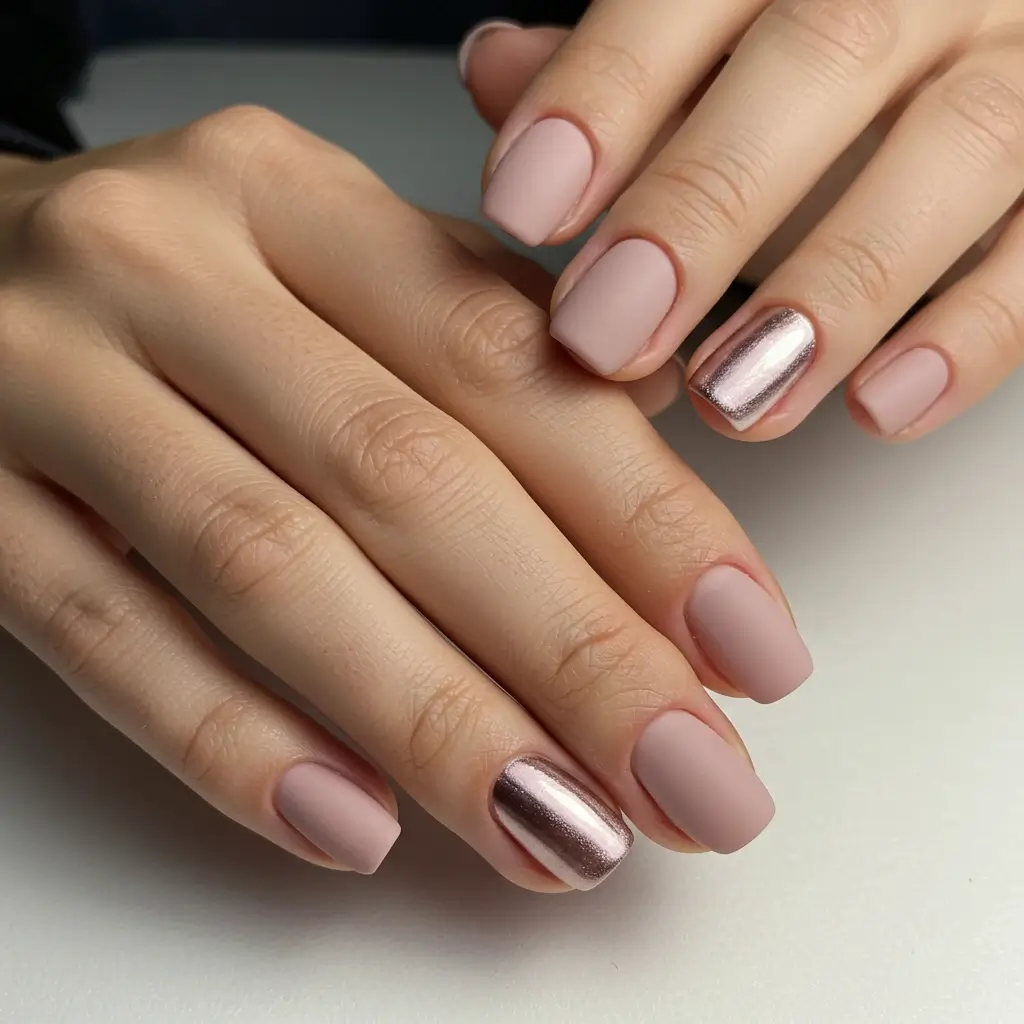
Pro Tip: Apply a matte top coat over the main color while leaving the half-moon glossy for a striking difference.
French Tip + Half-Moon Combo
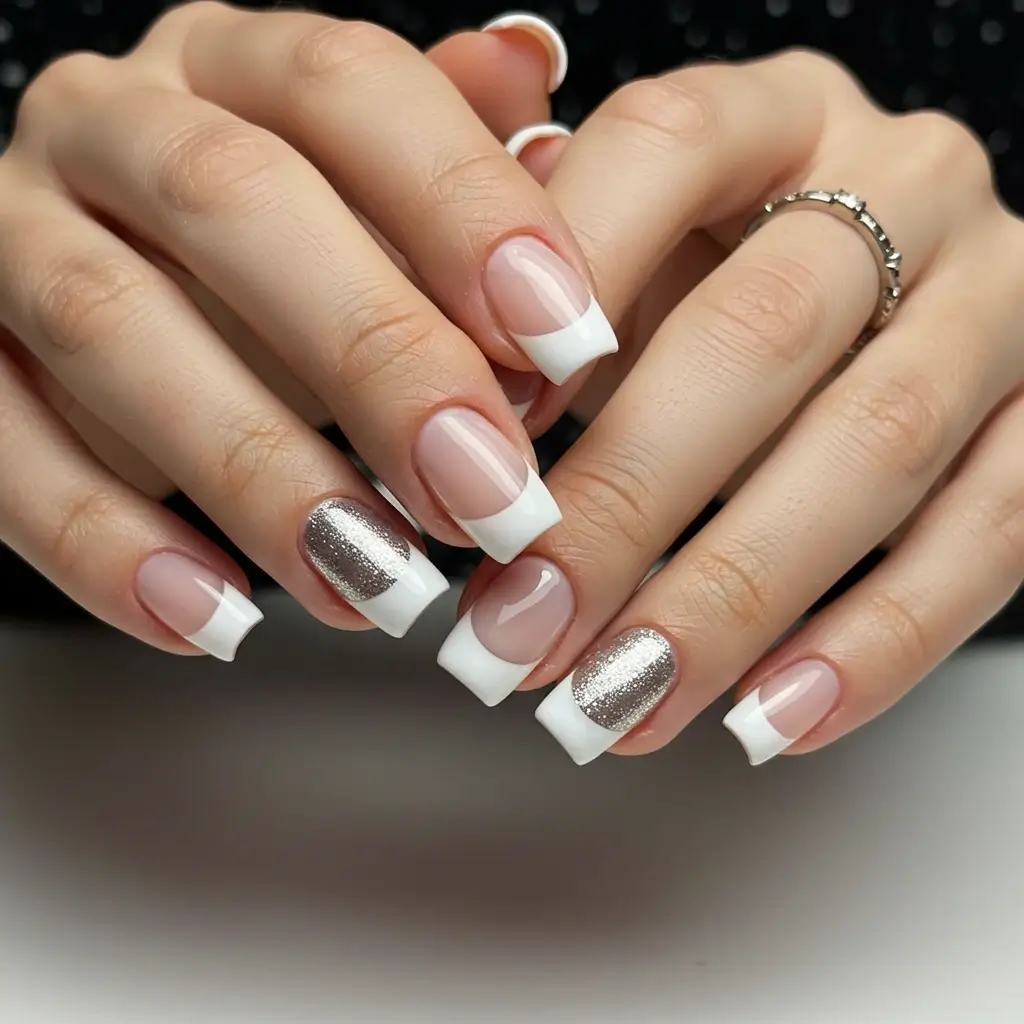
Combining elements of the traditional French manicure with the half-moon style, this design showcases both white tips and a white half-moon, achieving an elegant double-contrast appearance.
Pro Tip: Utilize fine brushes or nail tape to guarantee that both the tip and half-moon areas are balanced and uniform.
Pastel Half-Moon Nails
Gentle pastel shades such as lavender, mint green, baby blue, and peach create a soft, feminine, and spring-inspired half-moon design.
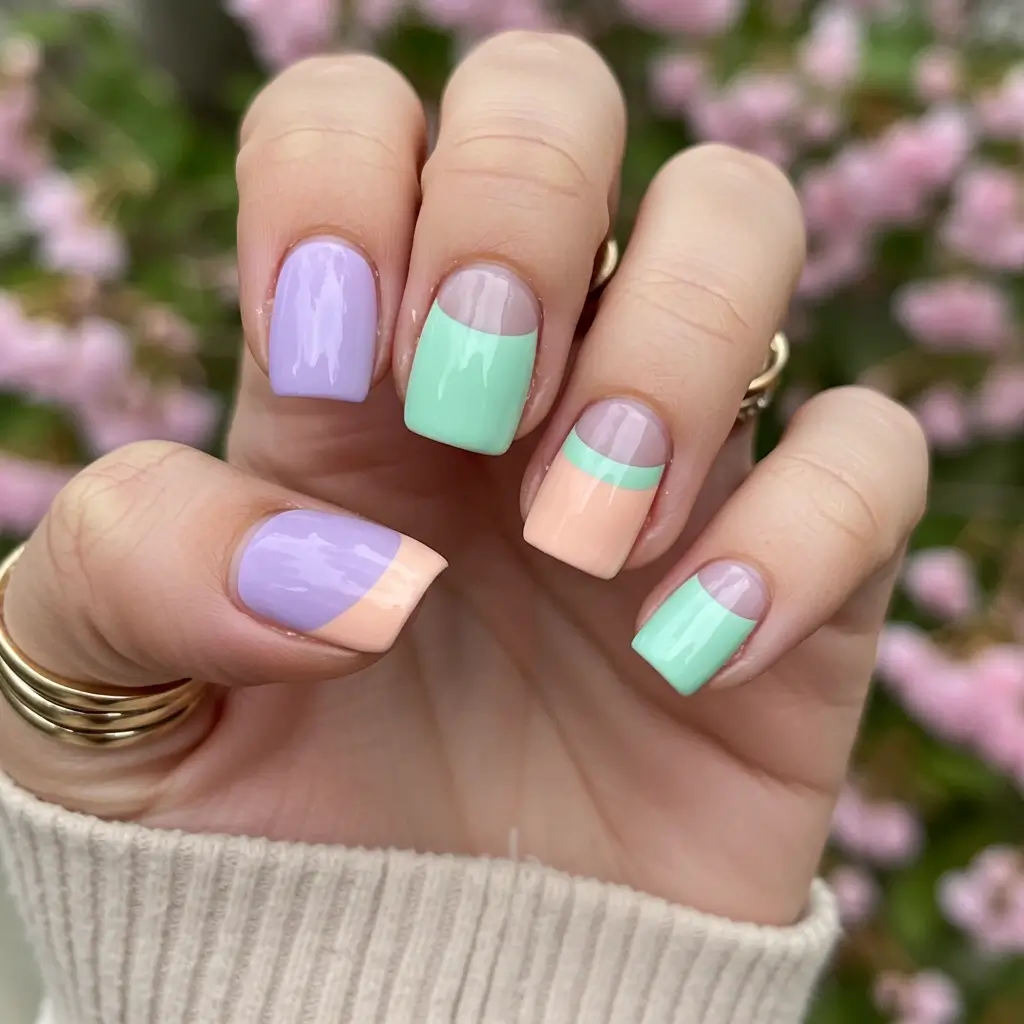
Pro Tip: Pastel nail polishes usually have a translucent formula, so it’s best to apply two to three layers for a smooth, opaque appearance.
Dual-Tone Half-Moon Nails
This design incorporates two contrasting colors, with one used for the half-moon and the other for the remainder of the nail. Popular combinations include black and gold, navy and silver, as well as nude and red.
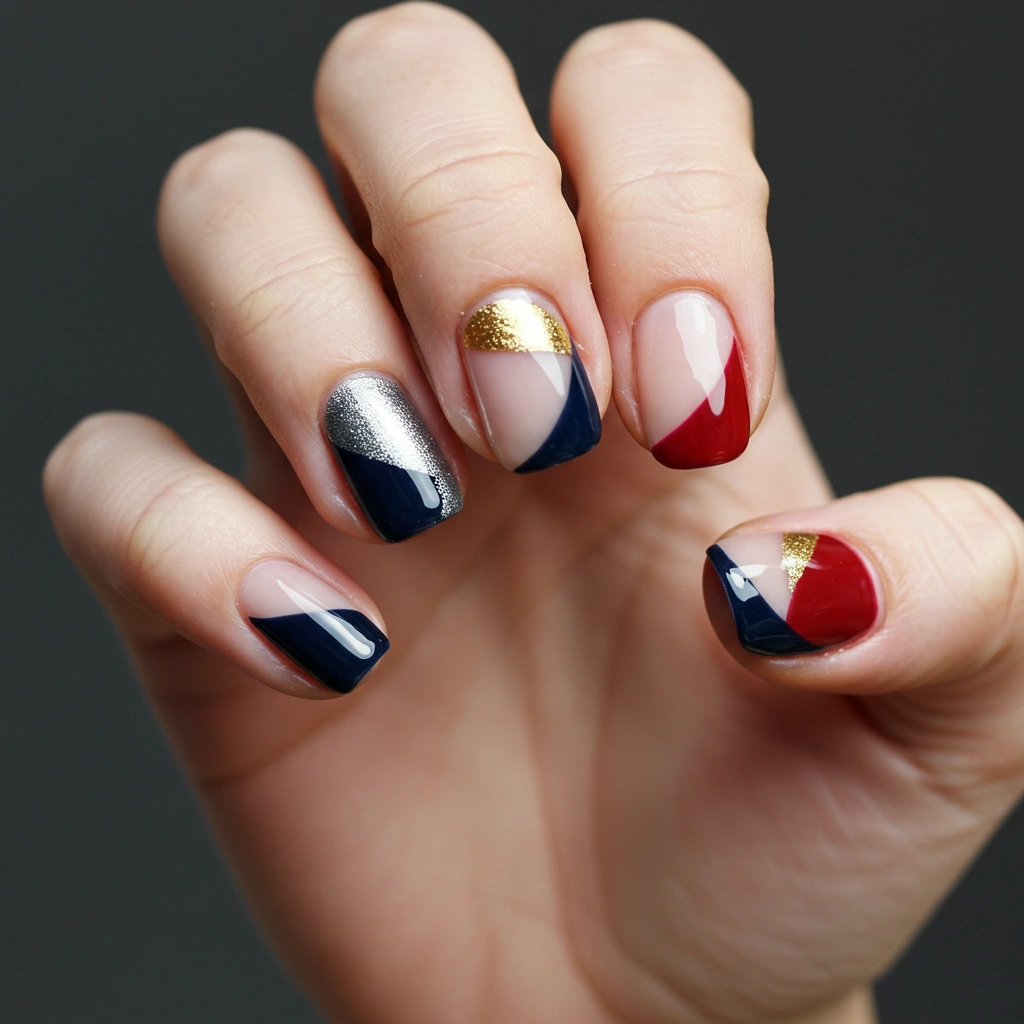
Pro Tip:Choose colors that provide a strong contrast while still harmonizing with each other for an elegant, cohesive appearance.
Floral Half-Moon Nails
This manicure features intricate hand-painted floral patterns or floral decals placed over the half-moon section for a charming, vintage-inspired look.
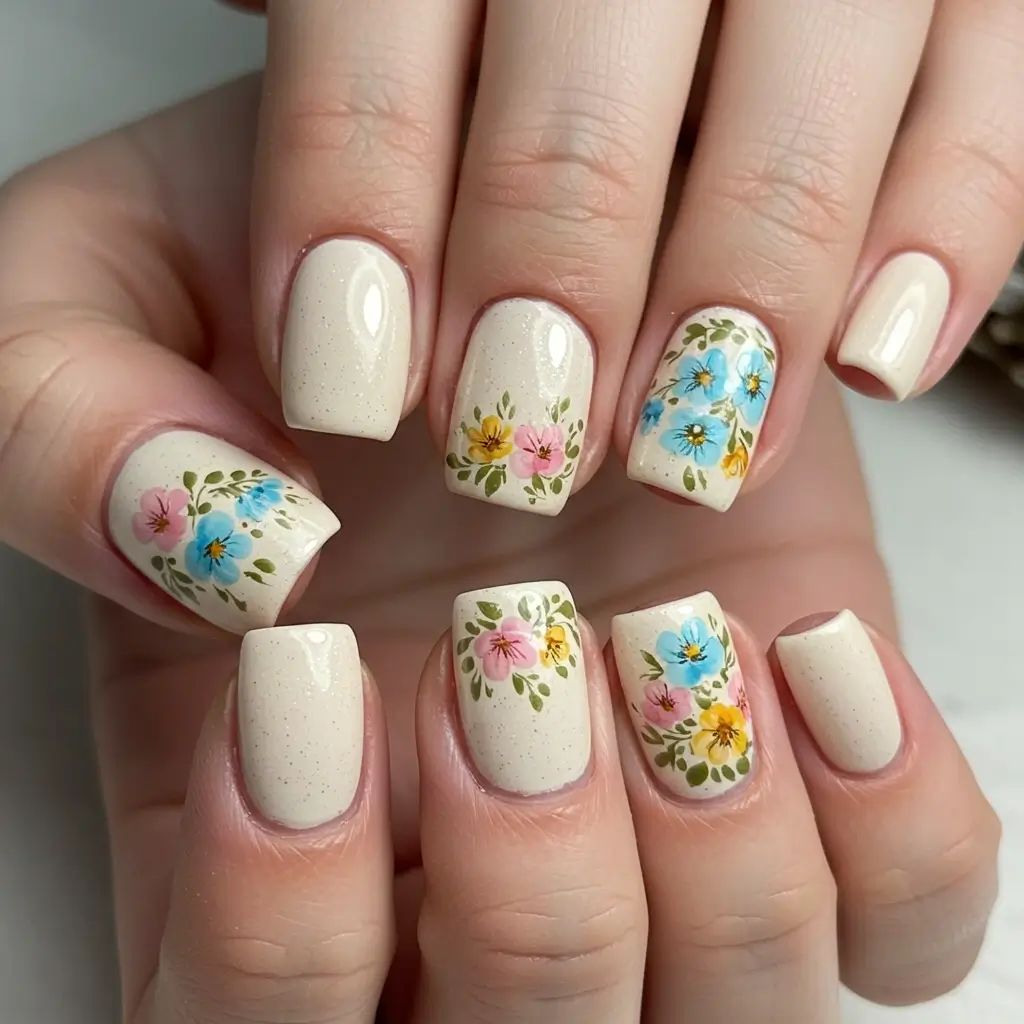
Pro Tip: Utilize a dotting tool to effortlessly create tiny flower petals.
Striped Half-Moon Nails
Thin stripes that are horizontal, vertical, or diagonal span the nails, crossing the half-moon to create a striking, geometric look.
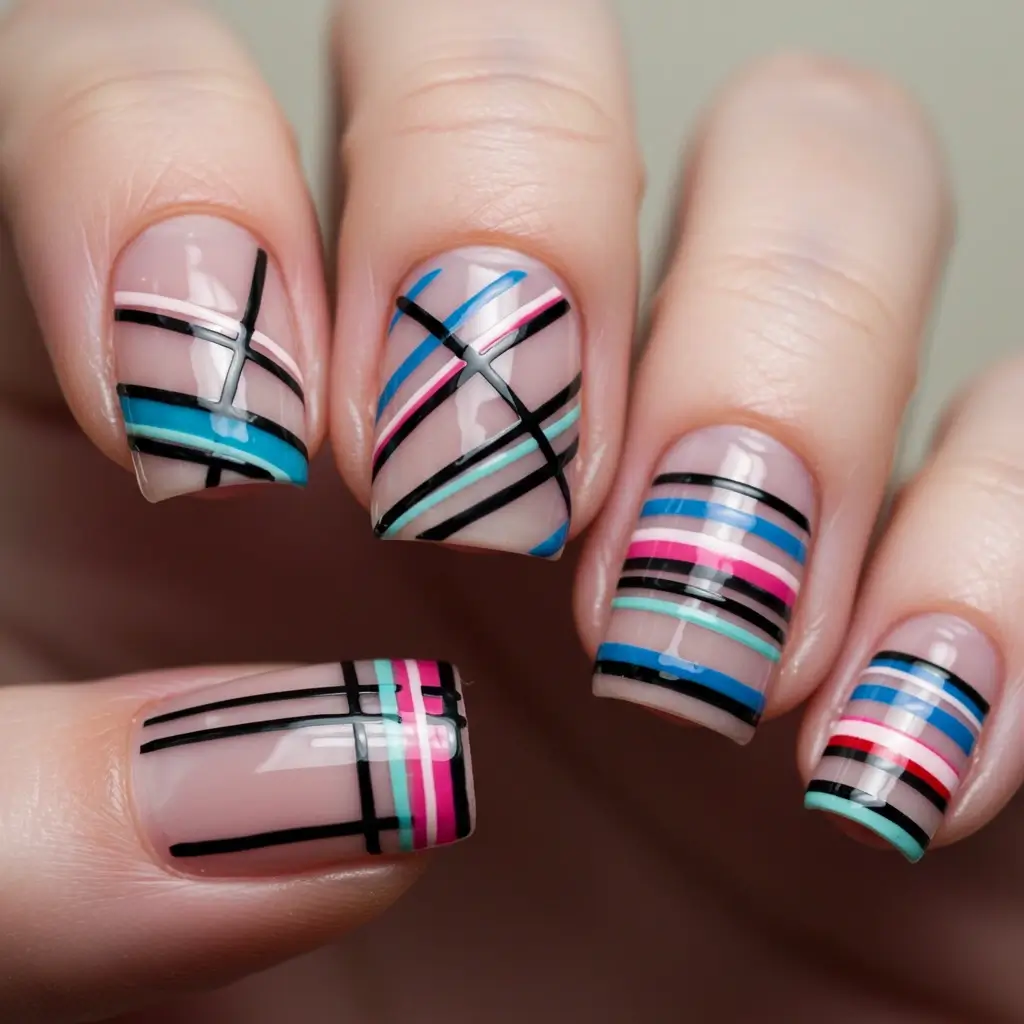
Pro Tip: Employ nail striping tape to achieve precise, neat lines.
Animal Print Half-Moon Nails
Animal prints such as leopard, zebra, or snakeskin are incorporated into the half-moon design for a bold and ferocious nail style.
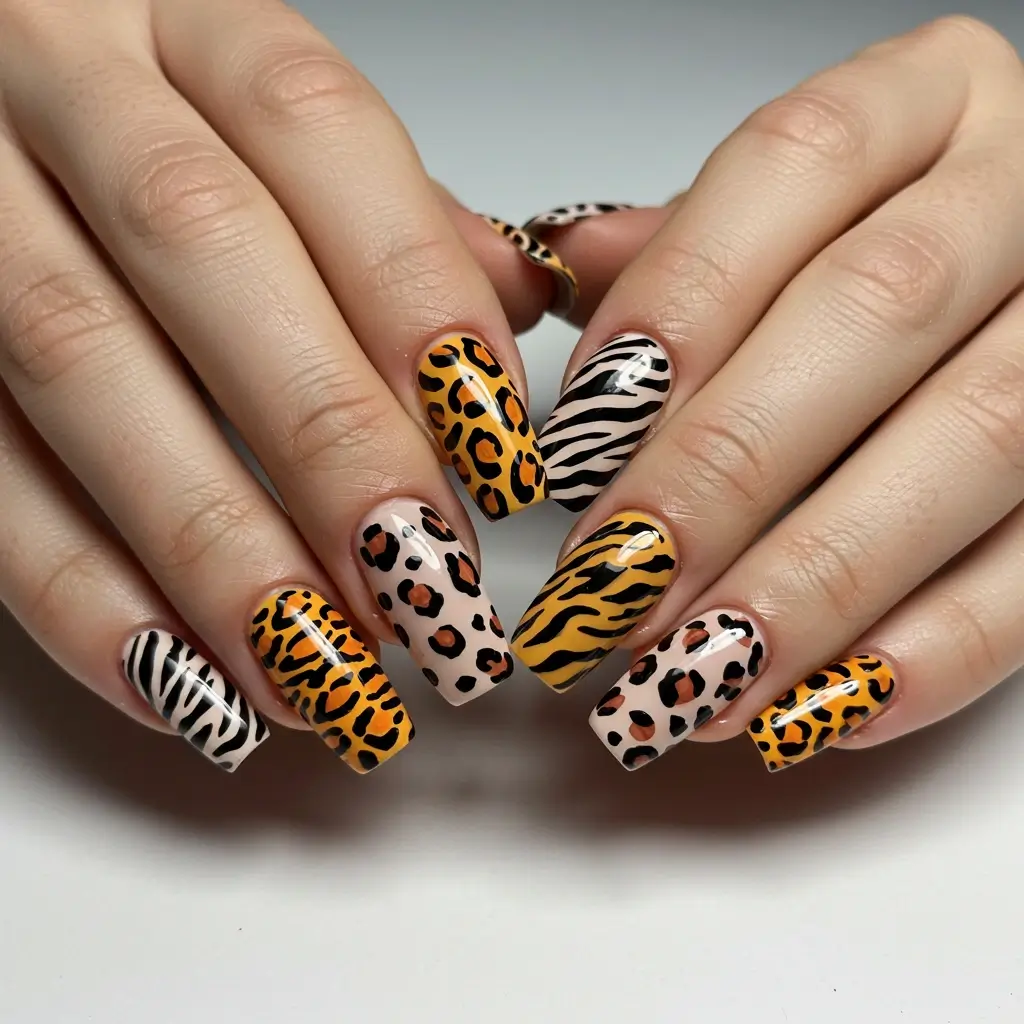
Pro Tip: Utilize a stamping plate or a fine liner brush to achieve intricate animal patterns.
Jewel-Embellished Half-Moon Nails
Small rhinestones, pearls, or studs are arranged along the half-moon to create a sophisticated and opulent look.
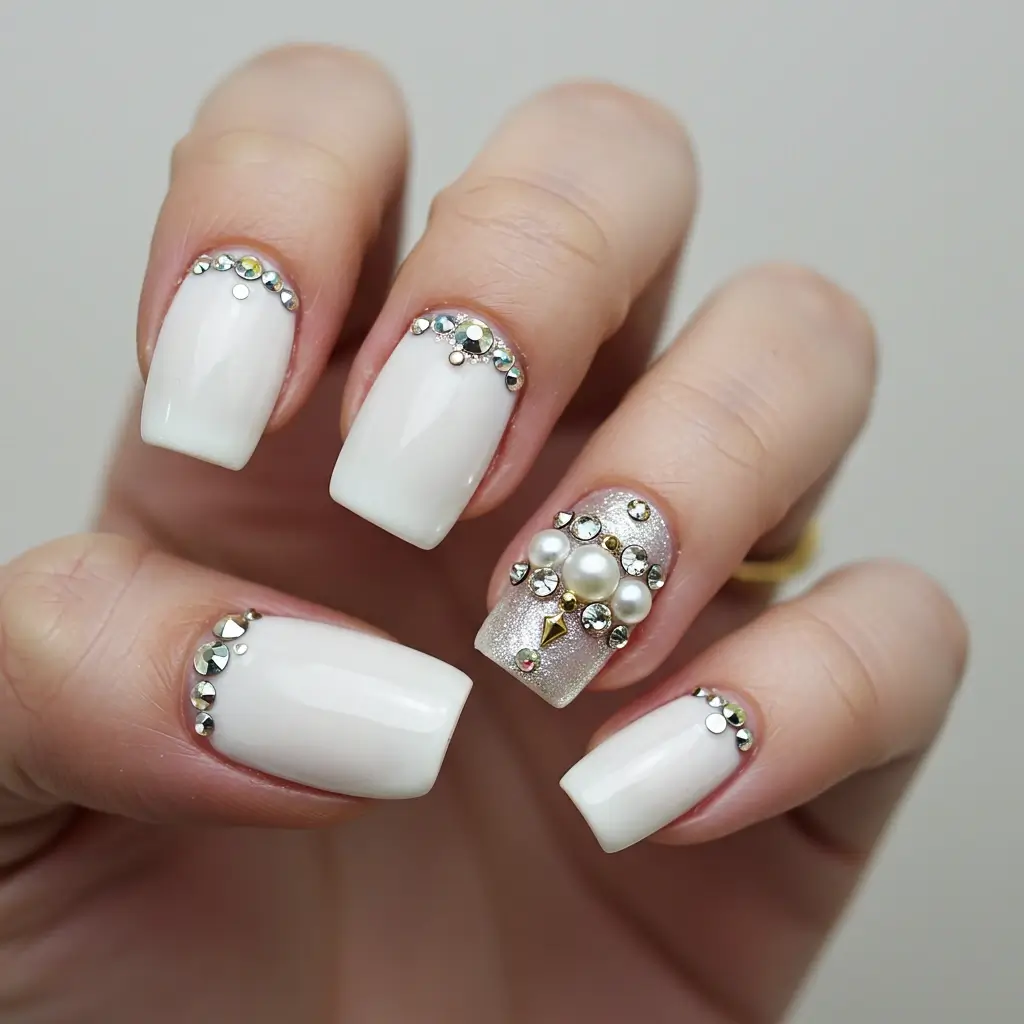
Pro Tip: Opt for nail glue rather than top coat to ensure a more secure hold of the embellishments.
Holographic Half-Moon Nails
This manicure showcases a holographic polish on the half-moon area, displaying various colors when illuminated. It produces a striking and modern look, ideal for festivals and daring fashion choices.

Pro Tip: To enhance the vibrancy and depth of the holographic polish, use a black base coat underneath.
Neon Half-Moon Nails
Vivid, fluorescent colors such as vibrant pink, striking blue, zesty green, and glowing orange are applied to the half-moon design for a bold, attention-grabbing effect.
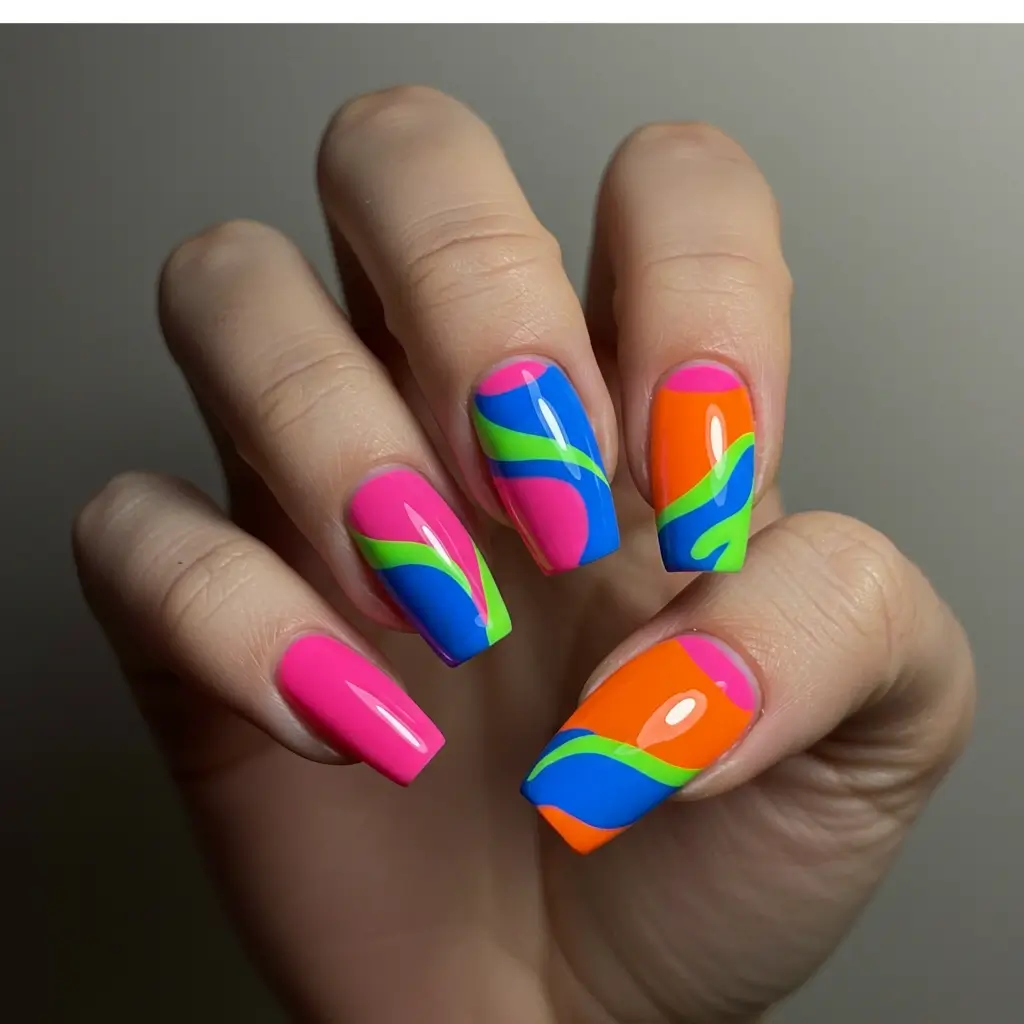
Pro Tip: Applying a white base coat beneath the neon polish will enhance the brightness of the colors even further.
Transparent Jelly Half-Moon Nails
This design incorporates translucent jelly polishes to achieve a glossy and lightweight appearance, resulting in a contemporary style. The half-moon shape is either left clear or enhanced with a darker jelly color for added contrast.
Pro Tip: Layer several thin coats to achieve an ideal sheer finish free of streaks.
Velvet Half-Moon Nails (Cat-Eye Effect)
A beautiful, magnetized velvet finish is achieved with cat-eye polish, producing a gentle, shimmering movement effect on the half-moon.
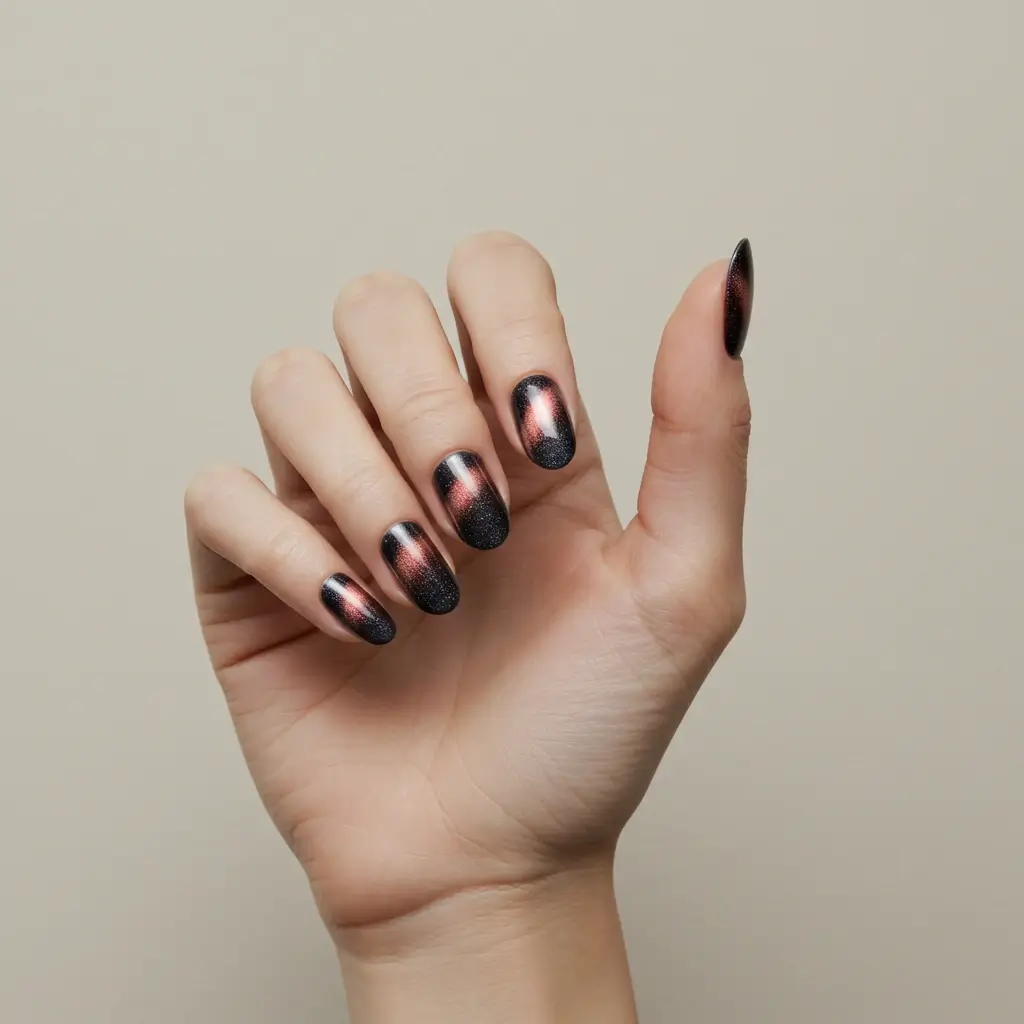
Pro Tip: Position a magnet close to the half-moon section after applying the cat-eye polish to form a distinct shimmer design.
Foil Half-Moon Nails
Metallic or decorative nail foils can be applied to the half-moon region, providing a distinctive texture and luster. The most sought-after options include gold, silver, rose gold, and holographic foils.
Pro Tip: For a smooth and durable foil application, utilize foil transfer gel.
Lace Half-Moon Nails
A fragile lace design can be either hand-painted or applied with lace nail stickers on the half-moon area, resulting in a feminine manicure perfect for brides.
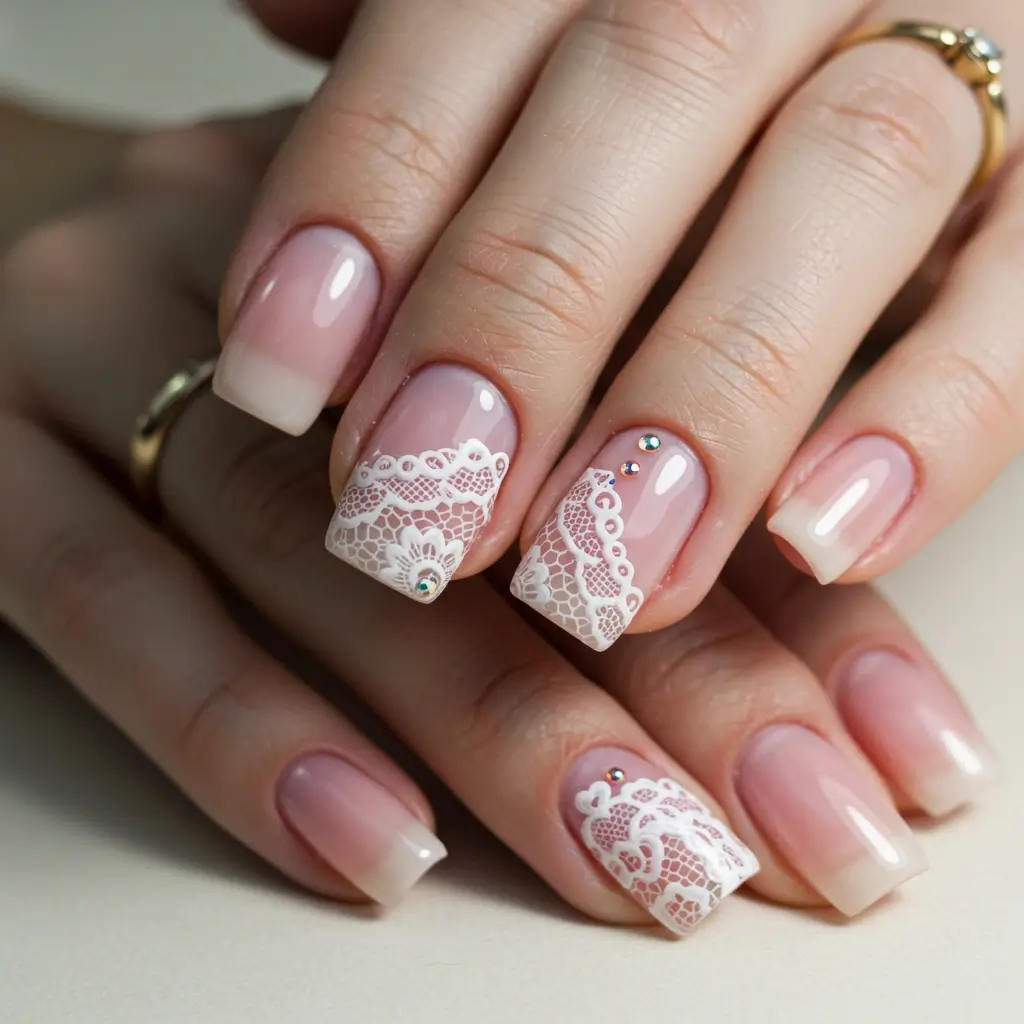
Pro Tip: To achieve a more intricate lace effect, consider using stamping plates or fine brushes rather than painting freehand.
3D Half-Moon Nails
This design features 3D decorations such as pearls, studs, or textured gel to enhance the half-moon’s appearance.
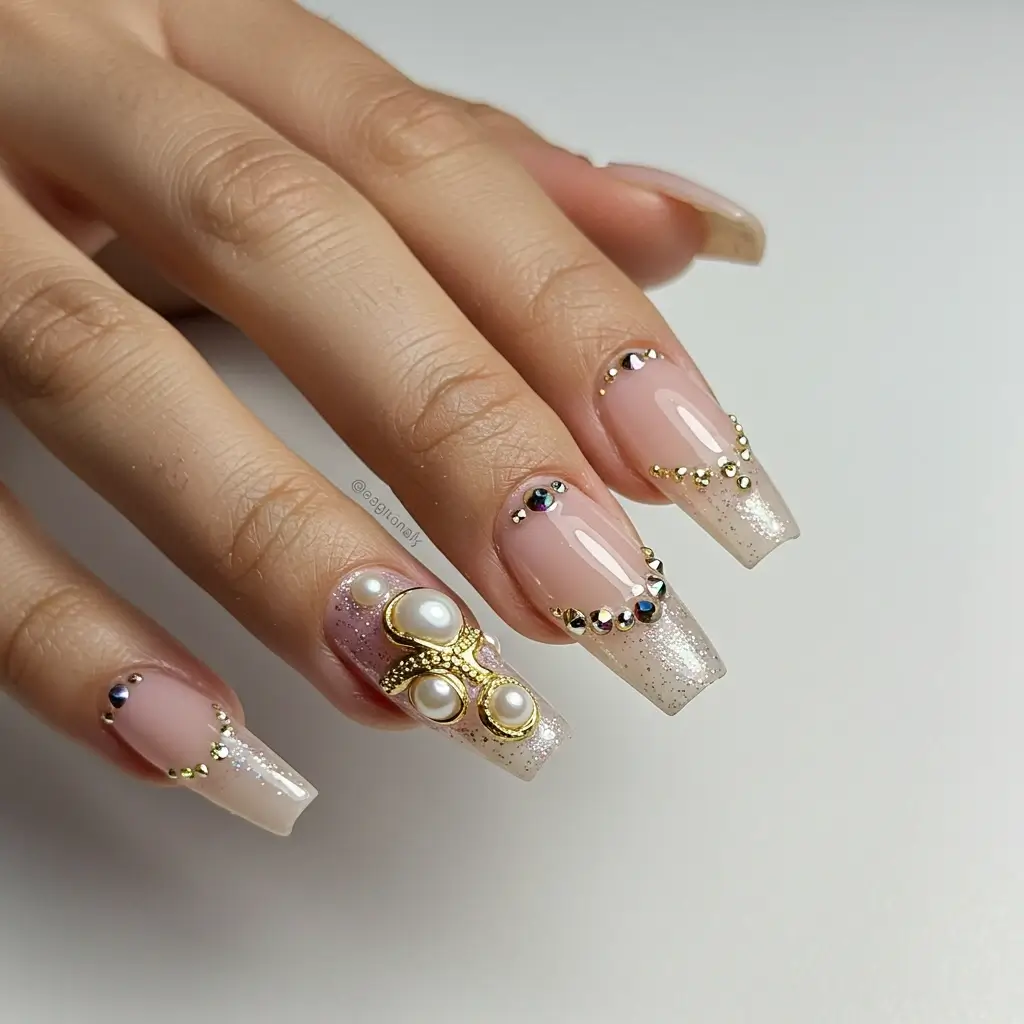
Pro Tip: Utilize builder gel to craft elevated, sculpted patterns for a striking 3D effect.
How to Create a Half-Moon Manicure
Step-by-Step Guide
- Prep Your Nails: Clean, shape, and buff your nails for a smooth base.
- Apply Base Coat: Protect your nails with a clear base coat.
- Create the Crescent Shape: Use hole reinforcement stickers or a stencil to outline the half-moon shape at the base of your nail.
- Paint the Tip: Apply your chosen nail polish color to the rest of the nail, avoiding the crescent area.
- Remove the Sticker: Carefully peel off the sticker to reveal the clean half-moon shape.
- Seal with Top Coat: Finish with a top coat for longevity and shine.
Tools Needed
- Hole reinforcement stickers or stencils
- Nail polish (two contrasting colors)
- Base coat and top coat
- Nail brush for precision